American Pancakes

Posted on March 2, 2014 in Breakfast Recipes
IMG_2668_Fotor_Collagegf

IMG_2668_Fotor_Collagegf

I am a big fan of English pancakes (crepes), but not for me the once-a-year treat, I eat them often usually with lemon & sugar, but this year I fancied making American Pancakes ready for Shrove Tuesday. You know the ones, those thick, spongy American pancakes that are eaten with warm maple syrup and crispy fried bacon. You can easily cook these pancakes by dolloping the batter onto a hot griddle (smooth or ridged) or in a heavy based pan.

The pancakes are light and fluffy and great to make for this coming Shrove Tuesday or even just for a weekend brunch. Try adding a large handful of fresh blueberries or chocolate chips to the batter before cooking.

Ingredients

135g plain flour

1 tsp baking powder

½ tsp salt

2 tbsp caster sugar

130 ml milk

1 egg

2 tbsp melted butter

To Serve

Maple syrup (ideally the real stuff)

Butter

Blueberries

Bananas

Chocolate Chips


Sift the flour, baking powder, salt and caster sugar into a large bowl.

IMG_2652

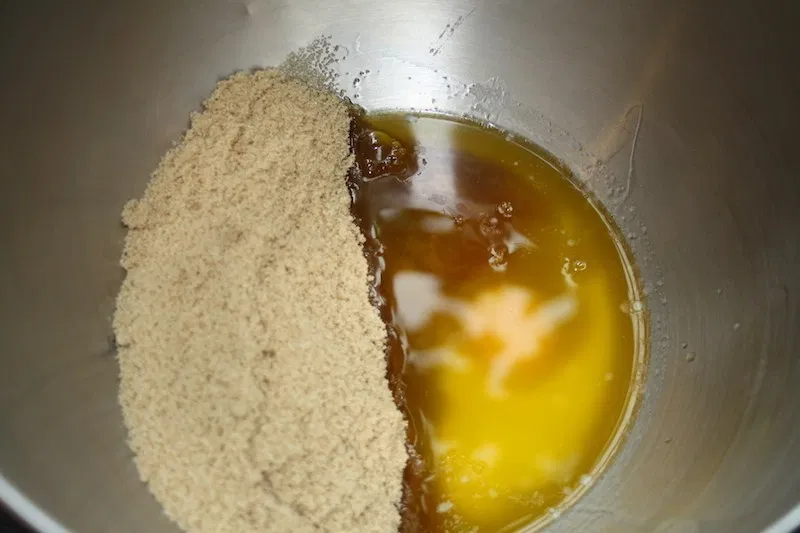
In a separate bowl, lightly whisk together the milk and egg, then whisk in the melted butter.

IMG_2653

IMG_2654

IMG_2656

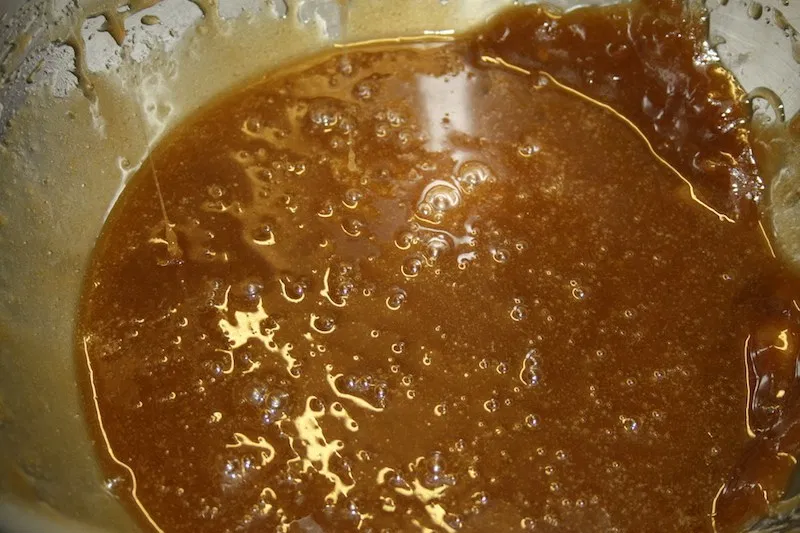
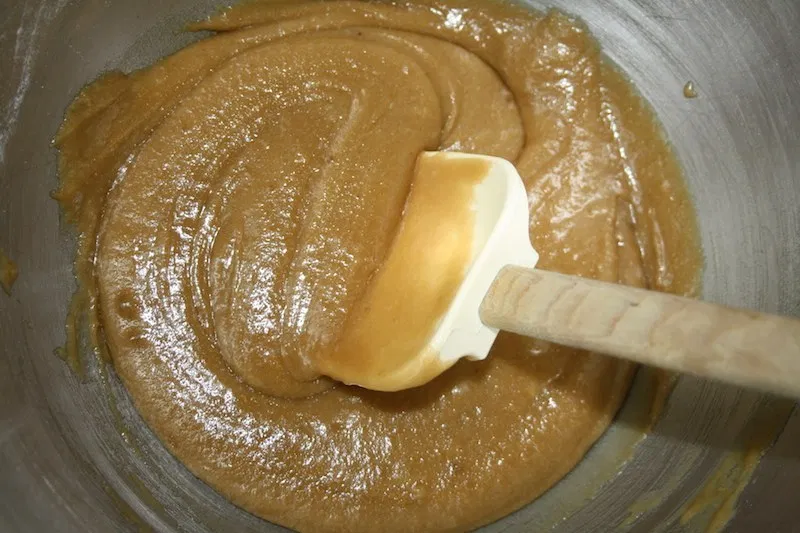
Pour the milk mixture into the flour mixture and, using a whisk beat until you have a smooth batter. Any lumps will soon disappear with a little mixing. Then let the batter stand for a few minutes.

IMG_2657

IMG_2659

Heat a non-stick frying pan over a medium heat and add a knob of butter. When it’s melted, add a ladle of batter. It will seem very thick but this is how it should be.

IMG_2661

Wait until the top of the pancake begins to bubble, then turn it over and cook until both sides are golden brown and the pancake has risen a little.

IMG_2662

IMG_2663

Repeat until all the batter is used up. You can keep the pancakes warm in a low oven, but they taste best fresh out the pan.

IMG_2667

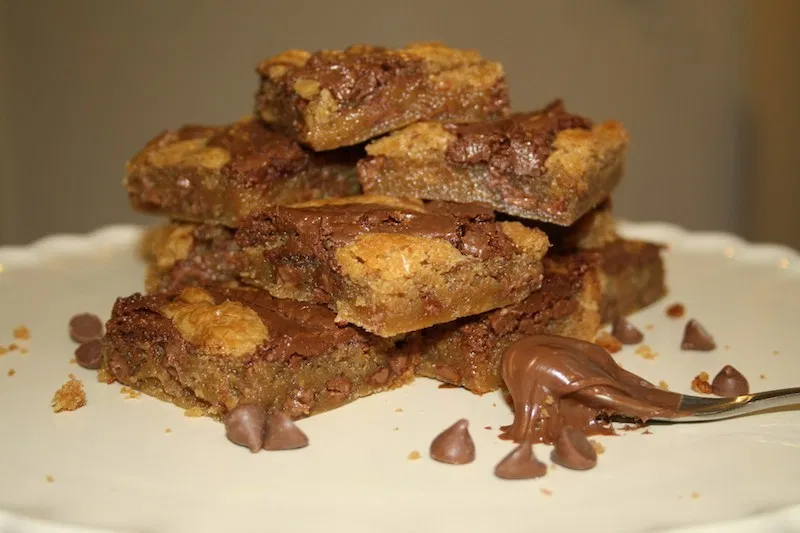
Serve with lashings of real maple syrup, crispy bacon and extra butter if you like. You can experiment by adding bananas and chocolate chips or some fresh blueberries.

IMG_2668

IMG_2671

IMG_2681

IMG_2688

IMG_2694

IMG_2674

IMG_2696

Chocolate Chip and Oreo Cookie Squares

Posted on February 22, 2014 in Traybakes
IMG_6885

IMG_6885

These Chocolate Chip and Oreo Cookie squares are nothing short of heavenly. I think the chocolate chip cookie base with a layer of Oreo truffle which is then topped with milk chocolate is the perfect combination.

Ingredients

115g unsalted butter, softened

65g granulated sugar

100g light brown sugar

1 large egg

1 1/2 teaspoons pure vanilla extract

1/2 teaspoon bicarbonate of soda

190g plain flour

1/4 teaspoon salt

350g chocolate chips

30 Oreo cookies

100g cream cheese

2 teaspoons shortening (Trex)

Preheat the oven to 180°C and line an “8×8” pan with foil and grease.

Cream butter and both sugars until combined using a freestanding electric mixer with a paddle attachment.

IMG_6842

IMG_6844

Combine flour, bicarbonate of soda, and salt in a medium bowl. Stir and set aside. Turn mixer on low. Add the egg then mix in vanilla extract.

IMG_6845

Add flour mixture to the wet ingredients and mix until combined.

IMG_6846

Mix in 150g of chocolate chips.

IMG_6847

IMG_6848

Press the chocolate chip dough into the prepared pan. Chill in the fridge for 15 minutes.

IMG_6849

Bake bars in the preheated oven for about 20-25 minutes, until the top is golden. Let cool completely.

IMG_6852

Place Oreos and cream cheese in a food processor and run until the mixture forms a sticky mixture.

IMG_6850

IMG_6851

Place the Oreo mixture on top of the cooled cookie and press with your hands to flatten into an even layer.

IMG_6853

IMG_6855

Heat the remaining 200g of chocolate chips with 2 teaspoons of Trex in a microwave safe bowl for 30 seconds, stirring in between each, until melted and smooth.

IMG_6854

Pour over the top of the Oreo truffle layer and spread evenly. Chill in fridge until set, a few hours.

IMG_6856

To minimize the chocolate cracking when cutting, let the bars come to room temperature before cutting.

IMG_6857

IMG_6868

IMG_6872

IMG_6897

Valentines Vanilla Cupcakes

Posted on February 13, 2014 in Cupcakes

Why spend money on chocolates when you can treat your valentine to homemade cupcakes? Bake up some sweets for your valentine this Valentine’s Day with these tasty love-themed cupcake decorating ideas.

The best part about these cupcakes, though, is the decoration. There is no limit when it comes to decorating. With so many ways to make them and so many flavors and colors to use, you can make any boring vanilla cupcake something extra special.

Ingredients for the vanilla cupcakes:

110g unsalted butter (at room temperature)

225g caster sugar

2 large eggs

150g self-raising flour, sifted

125g plain flour, sifted

120ml semi-skimmed milk (at room temperature)

1 teaspoon of good quality vanilla extract

Preheat the oven to 180°C and line a 12-hole muffin tray with the appropriate size cupcake cases.

In a mixing bowl cream the butter and sugar until the mixture is pale and smooth, this should take about 3-5 minutes using a freestanding electric mixer with a paddle attachment. Add the eggs, one at a time, mixing for a few minuets after each addition.

Combine the two flours in a separate bowl. Put the milk and vanilla extract in a jug.

Add one third of the combined flour to the creamed mixture and beat well, then pour in one third of the milk and vanilla extract and beat again. Repeat these steps until all the flour and milk have been added.

Carefully spoon the mixture into the cupcake cases, filling them about two thirds full to allow the mixture to rise when cooking. Bake in the oven for about 20 minuets (regular size case) or 15 minutes (mini size cases).

Remove from the oven and carefully place them onto a wire rack to cool.

To decorate:

Ingredients

Icing sugar

Red, Pink and White royal icing

Roll out the white royal icing on an icing sugar dusted surface to 1/8 inch thick. Cut out with a round cookie cutter and apply to the cupcakes. Alternate the colours if you wish.

Roll out the red and pink royal icing to 1/8 inch thick. Using small heart shaped cutters or a sharp knife, cut out a few heart shapes. If you have small letter shape cutters, you can cut out the words ‘I Love You’ or ‘Be Mine’ and using a little icing sugar mixed with water stick them onto the circular icing. Alternatively you could just sprinkle some pink edible heart decorations on top of the white icing.


Triple Treacle Chocolate Cookies

Posted on February 12, 2014 in Cookies
IMG_1686

IMG_1686

These treacle cookies are soft, chewy, full of chocolate and hold a hint of wonderful flavours. Chocolate is used three times within; coco powder, chocolate chips and big chocolate chunks making these perfect for chocolate lovers. To achieve the crackled appearance on top of the cookies, and to release some of the gooey melted chocolate, once removed from the oven tap the top of the cookie firmly using the back of a spoon.

Ingredients for the cookies:

110g unsalted butter, melted

1 large egg

200g brown dark sugar

100g granulated sugar

85g Black Treacle

2 tablespoons of vegetable oil

1 1/2 teaspoons vanilla extract

1 tablespoon cocoa powder

2 teaspoons cinnamon

1 1/2 teaspoons ground ginger

1/2 teaspoon salt

310g all-purpose flour

1 1/2 teaspoons Bicarbonate of Soda

170g dark chocolate chips

140g dark chocolate, roughly chopped into chunks

Ingredients for the Cinnamon Sugar Coating:

150g granulated sugar

1 teaspoon cinnamon

Directions:

Melt the butter in a microwave-safe bowl for about 1 minute. Allow to cool. Add the egg, brown sugar, granulated sugar, black treacle, oil, vanilla, cinnamon, ginger and salt and whisk until all combined and the batter is smooth.

IMG_1647

IMG_1648

Add the flour, bicarbonate of soda and stir to just incorporate. The batter will be thick.

IMG_1650

IMG_1651

Fold in the chocolate chips and chocolate chunks. Cover the mixing bowl and refrigerate the dough for at least 2 hours.

IMG_1652

IMG_1653

Preheat oven to 180C and line two baking trays with baking parchment.

In a small bowl, combine the granulated sugar and 1 teaspoon cinnamon, and stir to combine.

Using a cookie scoop, form a ball of dough and then roll through the cinnamon-sugar. Place on baking trays, spaced about 2 inches apart (to allow the cookies to spread).

IMG_1654


IMG_1655

IMG_1658

Bake for about 7- 8 minutes, or until tops are just set. Try not to over bake otherwise you will lose the gooey chocolate and soft and chewy texture.

Once removed from the oven, gently tap the top of the cookies with the back of a spoon to flatten them. This will create the crackled appearance and allow some of the melted chocolate to ooze out.

IMG_1661

IMG_1668

Leave cookies to cool on baking sheets for about 5 minutes before moving them to a rack to finish cooling.

IMG_1671

IMG_1679

IMG_1687

Nutella Swirl Peanut Butter Blondies

Posted on February 4, 2014 in Brownies
IMG_6644

IMG_6644These blondies will definitely satisfy Nutella and peanut butter lovers. They are made from brown sugar, peanut butter and melted butter which makes them super soft, yet gooey. Milk chocolate chips are then added and Nutella is then swirled on top to not only give the blondies a great appearance but to add depth, richness, and a pop of chocolate.

This recipe is ideal, you will only use one bowl and they’ll be ready in 30minutes!

Ingredients:

110g unsalted butter, melted

1 large egg

175g light brown sugar

1 tablespoon vanilla extract

150g plain flour

150g milk chocolate chips

1 tablespoon peanut butter

75g Nutella

Directions:

Preheat oven to 180 C. Line an 8-by-8-inch baking tin with aluminium foil and grease.

In a microwave-safe bowl melt the butter, about 1 minute on high power.

Wait a minute before adding the egg so you don’t scramble it. Add the egg, brown sugar, vanilla, and whisk until smooth.

IMG_6625

IMG_6626

Add the flour and stir until just combined.

IMG_6630

Stir in the milk chocolate chip chips.

IMG_6631

Add the peanut butter and stir until evenly dispersed.

IMG_6632

Turn batter out into prepared pan, smoothing the top lightly with a spatula.

To create the marbled pattern shown, drizzle the Nutella over the batter in three parallel lines, evenly spaced. Next rotate the pan 90 -degrees. With a toothpick, starting at the top of the pan, drag the toothpick through the Nutella 5/6 times.

IMG_6634

IMG_6636

Bake for about 20 to 25 minutes, or until done. A toothpick inserted in the centre should come out clean, or with a few moist crumbs.

IMG_6639

Allow the blondes to cool in the baking tin for about 40minutes and then transfer to a wire rack to finish cooling. You can then cut into squares to serve.

IMG_6654

IMG_6653IMG_6661

Chewy White Chocolate Chunk Cookies

Posted on January 22, 2014 in Cookies
IMG_6684

IMG_6684

These cookies are LOADED with white chocolate chunks, what more could you ask for? Well maybe a soft chewy and buttery cookie exploding with chocolate..

Ingredients:

280g Plain flour

1 teaspoon Bicarbonate of Soda

1 1/2 teaspoons cornflour

1/2 teaspoon salt

170g unsalted butter

150g light brown sugar

100g granulated sugar

1 large egg + 1 egg yolk

2 teaspoons vanilla extract

100g white chocolate chips

80g white chocolate chunks

Toss together the flour, bicarbonate of soda, cornflour and salt in a large bowl. Set aside.In a saucepan melt the unsalted butter, remove from the heat while you measure out the sugars.

IMG_1494

In a medium size bowl, whisk the melted butter, brown and white sugar together until no sugar lumps remain.

IMG_1495

Whisk in the whole egg, then the egg yolk.

IMG_1496

Finally, whisk in the vanilla extract. Add the egg mixture to the dry ingredients and mix together with a large spoon or rubber spatula.

IMG_1498

The dough will be very soft, yet thick.

IMG_1500

Fold in the chocolate chunks until they are evenly dispersed within the dough. This may be a bit difficult due to the melted butter but try your best.

IMG_1501

IMG_1502

Cover the dough and chill for 2 hours. Chilling is mandatory, as it will give you a thick and chewy cookie. If the cookie dough is used at room temperature it will spread.

IMG_1507

Take the dough out of the refrigerator and leave or 10 minutes to soften slightly.

Preheat the oven to 170C degrees. Line two large baking sheets with parchment paper. Set aside.

Using about 3 table spoons of dough, roll into balls and space out on a baking tray.

Bake the cookies for 10-12 minutes. The cookies will look soft when you remove them from the oven but don’t worry they will continue to cook on the baking tray. Allow the cookies to cool on the baking tray for 10 minutes before moving to a wire rack to cool completely. When cooled, drizzle melted white chocolate on top.

IMG_1522

IMG_1519

These cookies will stay fresh for 7 days if stored in tupperware at room temperature. Rolled cookie dough may be frozen for up to 3 months. You can then simply remove and bake for 12-14 minutes from frozen when needed.

IMG_6671

IMG_6683

Back to top
Follow

Get every new post delivered to your Inbox

Join other followers:

%d bloggers like this: