Browsing Tag

Nutella

Dessert Inspired Cupcakes

Posted on November 12, 2017 in


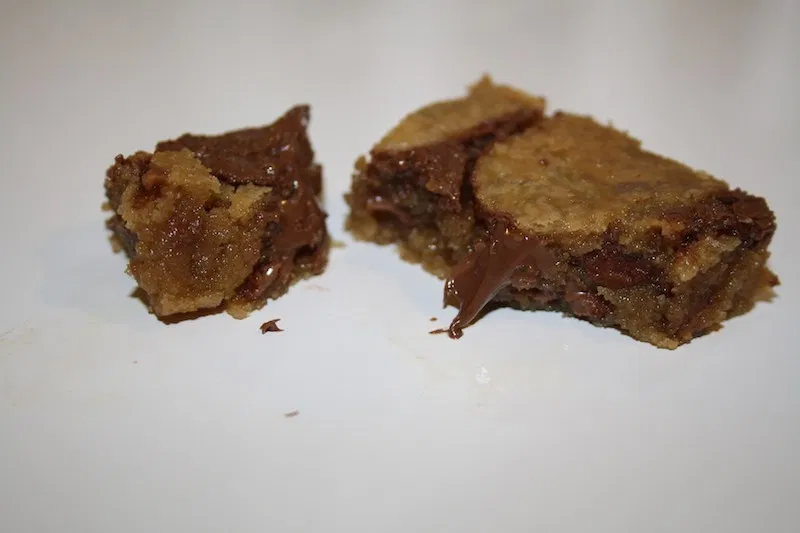
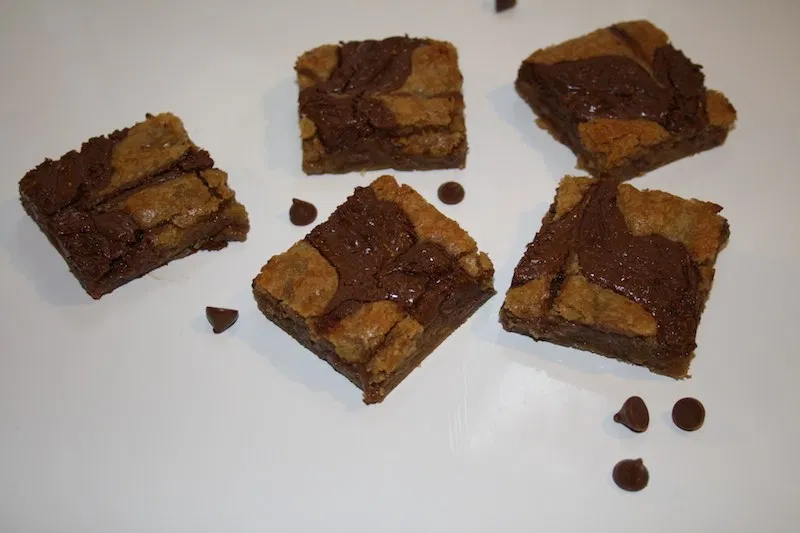
As you may have noticed a lot of my recipes here on my blog include chocolate. Reason why? Well who doesn’t like chocolate? I find it’s always a massive hit.

So to my excitement I was asked to team up with Lily O’brien’s to create a desert inspired by their delicious chocolates.

It was a real struggle to pick a chocolate to base my dessert on as I wanted to do them all…..so that’s exactly what I did! 

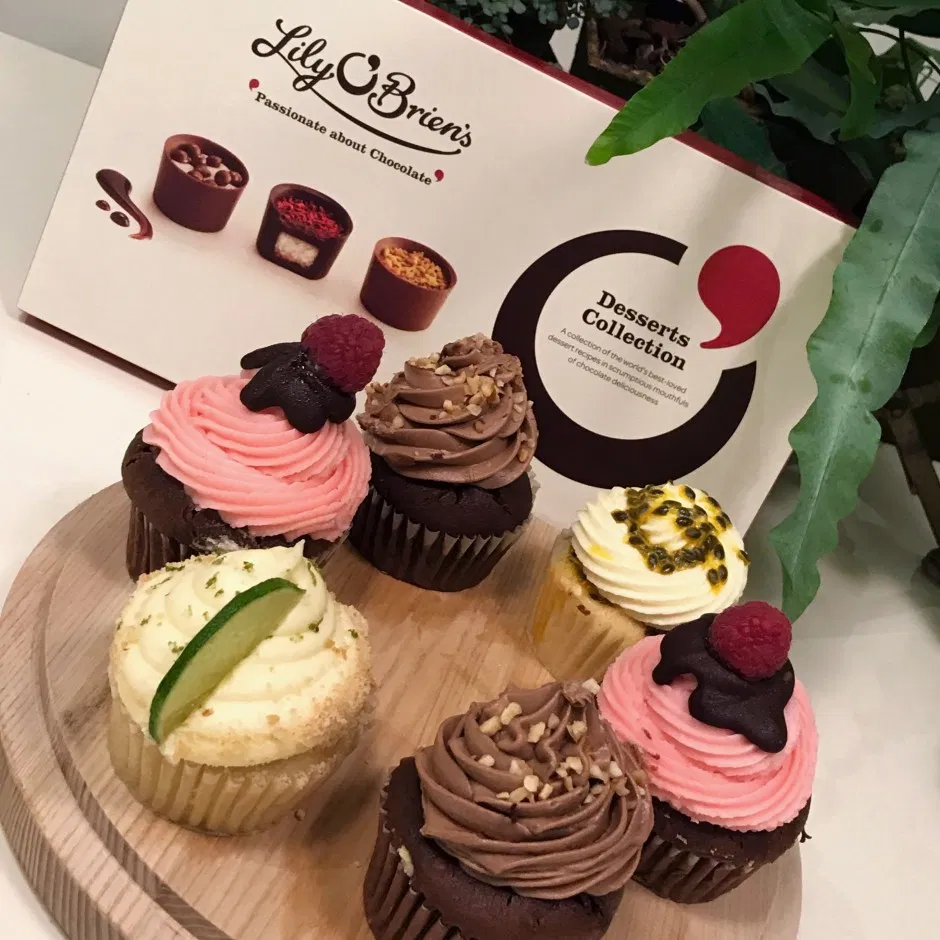
Lily’s O’Briens Dessert Chocolate Collection includes a selection of the world’s best loved dessert recipes including Raspberry Infusion, Key Limey Pie, Banoffee Pie, Passion Fruit Posset, Creme Brulee and Hazelnut Torte!

Raspberry Chocolate Cupcakes

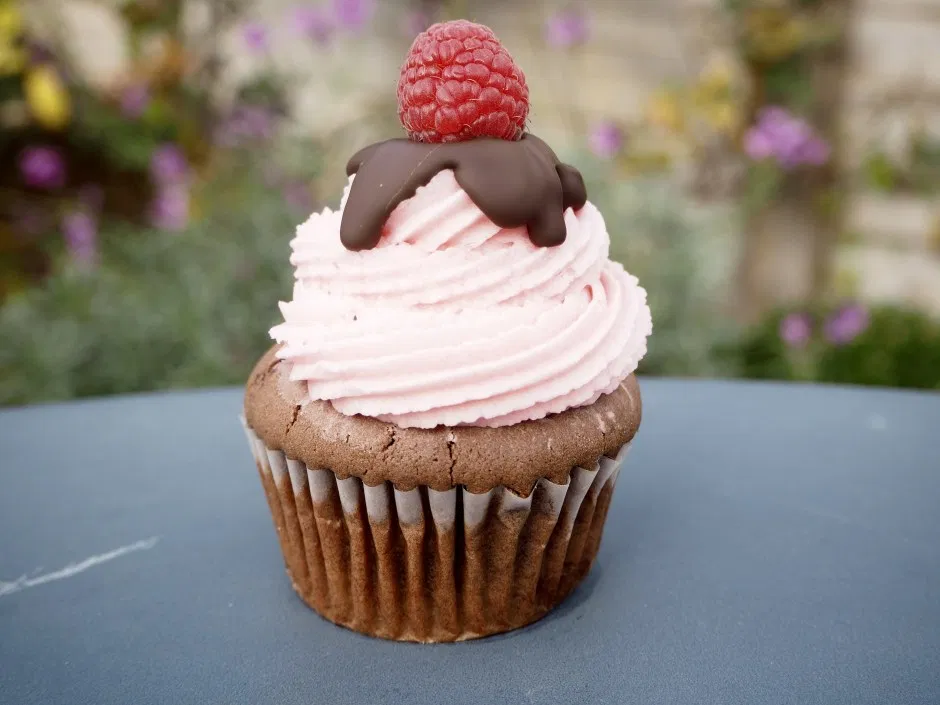
The combination of chocolate and raspberries is to die for! The cupcakes are delicious on their own simply sprinkled with icing sugar but with the added addition of chocolate ganache and raspberry buttercream they’re irresistible. The raspberry buttercream is divine and it’s color is all natural from the pureed raspberries making it the most beautiful pale pink.

Raspberry Chocolate Cupcakes
Serves 12
Chocolate Raspberry Cupcakes with thick chocolate ganache and the best raspberry frosting you will ever taste!
Write a review
Save Recipe
Print
Prep Time
40 min
Cook Time
25 min
Total Time
1 hr 10 min
Prep Time
40 min
Cook Time
25 min
Total Time
1 hr 10 min
459 calories
61 g
50 g
23 g
3 g
14 g
140 g
11 g
42 g
1 g
7 g
Nutrition Facts
Serving Size
140g
Servings
12
Amount Per Serving
Calories 459
Calories from Fat 203
% Daily Value *
Total Fat 23g
35%
Saturated Fat 14g
71%
Trans Fat 1g
Polyunsaturated Fat 1g
Monounsaturated Fat 6g
Cholesterol 50mg
17%
Sodium 11mg
0%
Total Carbohydrates 61g
20%
Dietary Fiber 3g
14%
Sugars 42g
Protein 3g
Vitamin A
12%
Vitamin C
14%
Calcium
6%
Iron
7%
* Percent Daily Values are based on a 2,000 calorie diet. Your Daily Values may be higher or lower depending on your calorie needs.
For Cupcakes
  1. 125g Butter (unsalted)
  2. 75g Dark chocolate (broken into pieces)
  3. 1 tsp Coffee granules
  4. 1 tsp Vanilla extract
  5. 150g light muscovado sugar
  6. 2Eggs
  7. 1 tsp Baking powder
  8. 225g Self-raising white flour
  9. 150ml Water
  10. 450ml Raspberries (plus extra to decorate)
For raspberry buttercream
  1. 160g fresh raspberries
  2. 150g unsalted butter, softened
  3. 300g icing sugar, sifted
  4. 1 teaspoon vanilla extract (optional)
  5. 2-3 tablespoon milk
  6. 50g dark chocolate
  7. 15ml double creme
Instructions
  1. Preheat the oven to 200°C (fan 180°C, gas mark 6) and line a cupcake tin with paper cases.
  2. Melt the butter in a large heatproof bowl placed over a saucepan of barely simmering water, making sure the bowl does not touch the surface of the water.
  3. When it is half melted, add the chocolate. When the chocolate is completely melted remove from the heat and stir to mix in any lumps, then allow to cool for a few minutes.
  4. Dissolve the coffee in the vanilla extract, then add this mixture and the sugar to the cooled chocolate and butter. When these are fully mixed together, add the eggs and mix in.
  5. Sift the baking powder and the flour into the mixture and beat until all ingredients are well incorporated and the batter is thick. Then stir in the water a little at a time, making sure the liquid is entirely absorbed into the batter.
  6. Divide the mixture between the paper cases, filling each about half full. Place 2 raspberries on the surface of each – they will sink into the batter. Then fill each case almost to the top and place another fresh raspberry on top.
  7. Bake for about 25 minutes, or until each cupcake is firm to the touch or a skewer comes out clean. Leave to cool in the tin for 10 minutes and then transfer to a wire rack to cool completely.
  8. To make the buttercream blitz the raspberries in a food processor or blender until pureed. Then pass through a sieve into a small saucepan. Heat gently and reduce by about half – this will take approx 5 minutes. Pour the thickened raspberry puree into a bowl and chill while you make the buttercream.
  9. Add the softened butter to a stand mixer fitted with the paddle attachment. Cream on a medium speed for about a minute, add the sifted icing sugar and the vanilla extract and mix together on a low speed until the butter and sugar has combined. Now turn up the speed to medium and cream for another 8 minutes – remember to stop the mixer and scrape down the sides and bottom of the mixing bowl. Once the buttercream is fluffy add the raspberry puree and milk and mix on low speed for another minute to combine.
  10. Once the cupcakes have cooled, pipe the buttercream on top of each cupcake and then spoon 1 teaspoon of chocolate ganache over the top and press a berry in.
Notes
  1. To make ganache you just throw your favorite chocolate in a bowl (I prefer dark chocolate for ganache) and then pour hot whipping cream over it and let it sit for 2 minutes. After two minutes the chocolate has warmed up and melted so with a few seconds of whisking you have gorgeous ganache.
beta
calories
459
fat
23g
protein
3g
carbs
61g
more
Forever Baking . . . http://www.foreverbaking.co.uk/

Key Lime Pie Cupcakes

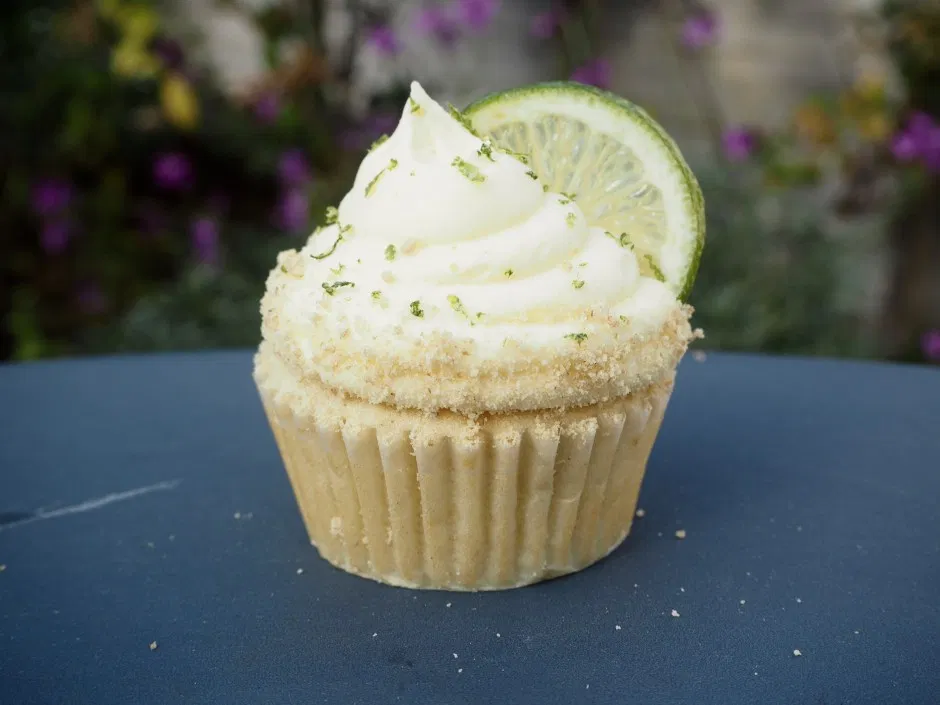
These delicious, tangy key lime cupcakes are simple to make and have a soft, citrus-infused moist sponge and a light and creamy white chocolate buttercream on top – a great spin on a classic dessert recipe.

Key Lime Pie Cupcakes
Serves 12
These Key Lime Pie Cupcakes are light and fluffy, filled with sweet lemon curd and topped with a whipped white chocolate buttercream!
Write a review
Save Recipe
Print
Prep Time
40 min
Cook Time
30 min
Total Time
1 hr 10 min
Prep Time
40 min
Cook Time
30 min
Total Time
1 hr 10 min
654 calories
71 g
115 g
39 g
7 g
22 g
178 g
375 g
46 g
1 g
14 g
Nutrition Facts
Serving Size
178g
Servings
12
Amount Per Serving
Calories 654
Calories from Fat 344
% Daily Value *
Total Fat 39g
60%
Saturated Fat 22g
111%
Trans Fat 1g
Polyunsaturated Fat 3g
Monounsaturated Fat 11g
Cholesterol 115mg
38%
Sodium 375mg
16%
Total Carbohydrates 71g
24%
Dietary Fiber 1g
5%
Sugars 46g
Protein 7g
Vitamin A
19%
Vitamin C
6%
Calcium
16%
Iron
8%
* Percent Daily Values are based on a 2,000 calorie diet. Your Daily Values may be higher or lower depending on your calorie needs.
For cupcakes
  1. 150g butter
  2. 150g self-raising flour
  3. 175g golden caster sugar
  4. 2 large eggs
  5. 3tbsps milk
  6. 3tbsp lime juice
  7. Zest of 2 limes
  8. ¼tsp baking powder
  9. 12tsp lemon curd
  10. 4 crushed ginger biscuits
  11. 1 lime, sliced
For the buttercream
  1. 230g salted butter, softened
  2. 250g icing sugar, sifted
  3. 1 teaspoon vanilla extract
  4. 175g white chocolate
  5. 60ml double cream or milk
Instructions
  1. Preheat the oven to 160°C and line your muffin tray with cases. Add the lime juice to the milk and leave to one side. Beat the butter and sugar together until light in colour, add the eggs, sifted flour, baking powder and beat again. Add the lime zest, milk and lemon curd and beat again until just combined.
  2. Divide the mixture between the 12 cases and bake for 30 minutes. Remove from the oven and cool in the tin for 5 minutes before moving onto a wire rack.
  3. When the cakes are cool, remove the centre from the cakes with an apple corer. Add one teaspoon of lemon curd to each cake the replace the sponge centre.
  4. To make the buttercream melt the white chocolate over a bain-marie. Leave to cool. As the chocolate cools, cream the butter for about a minute or two to soften. Now add the sifted icing sugar in two batches along with the vanilla and beat for another 5 minutes until the frosting is fluffy and light. Mix in the melted chocolate followed by the cream/milk.
  5. Pipe the buttercream onto your cupcakes and sprinkle crushed ginger biscuits around the edge of the piped buttercream. Add a slice of lime to decorate.
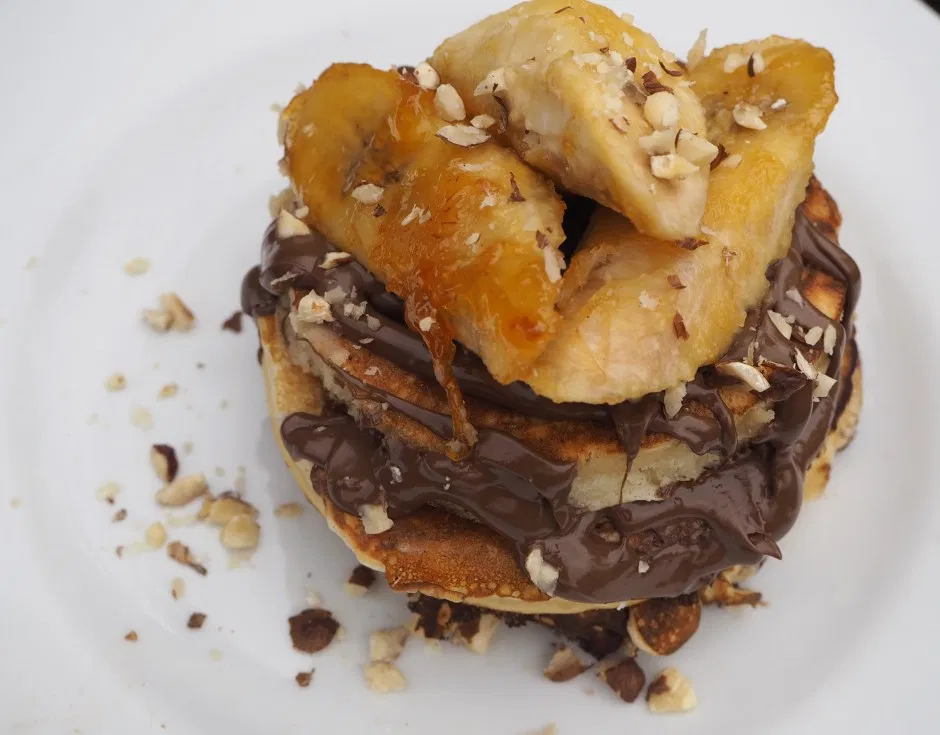
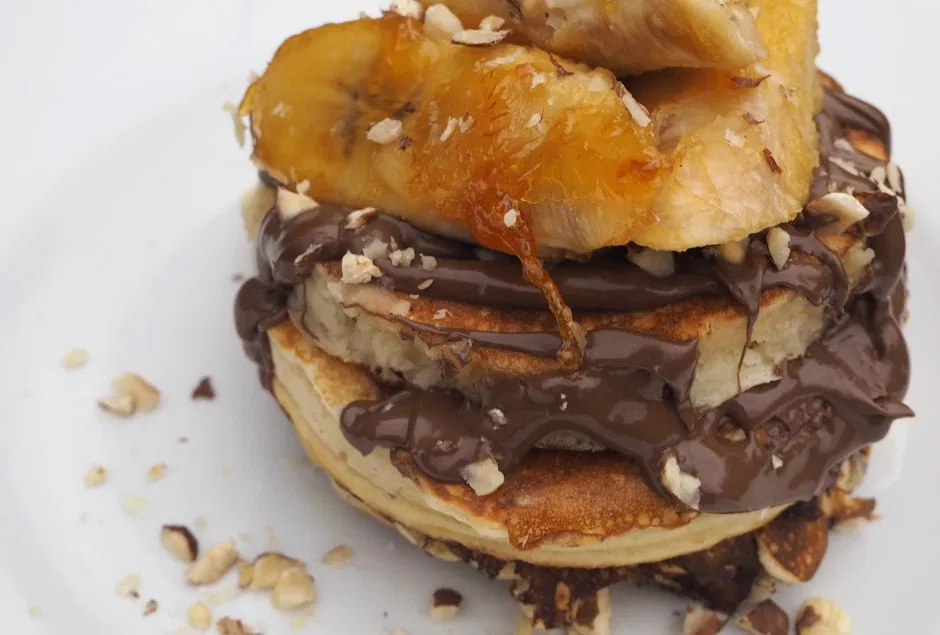
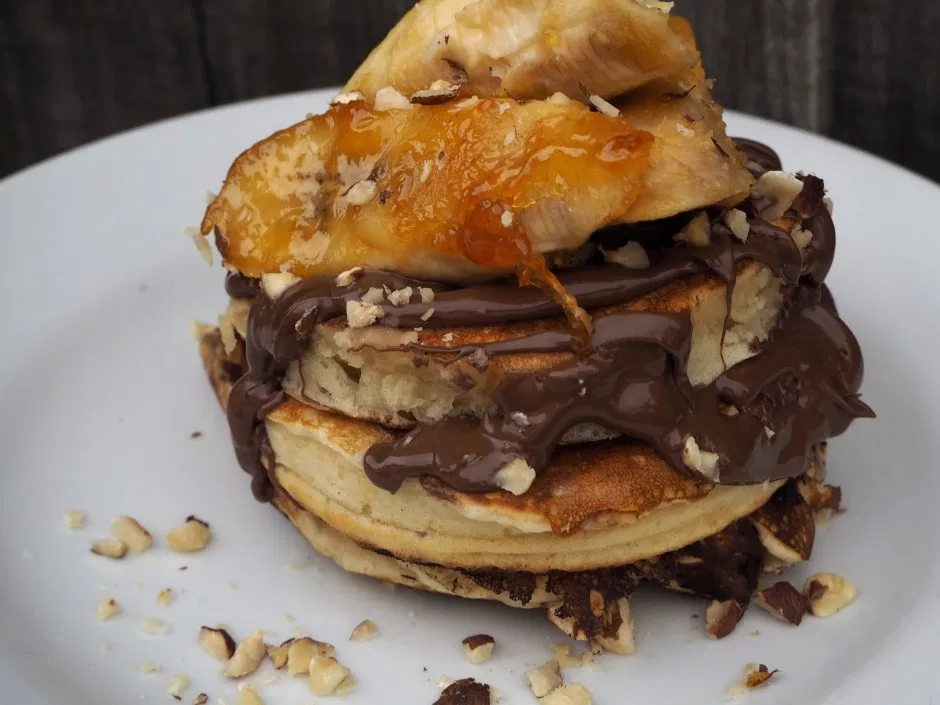
beta
calories
654
fat
39g
protein
7g
carbs
71g
more
Forever Baking . . . http://www.foreverbaking.co.uk/

Banoffee Cupcakes

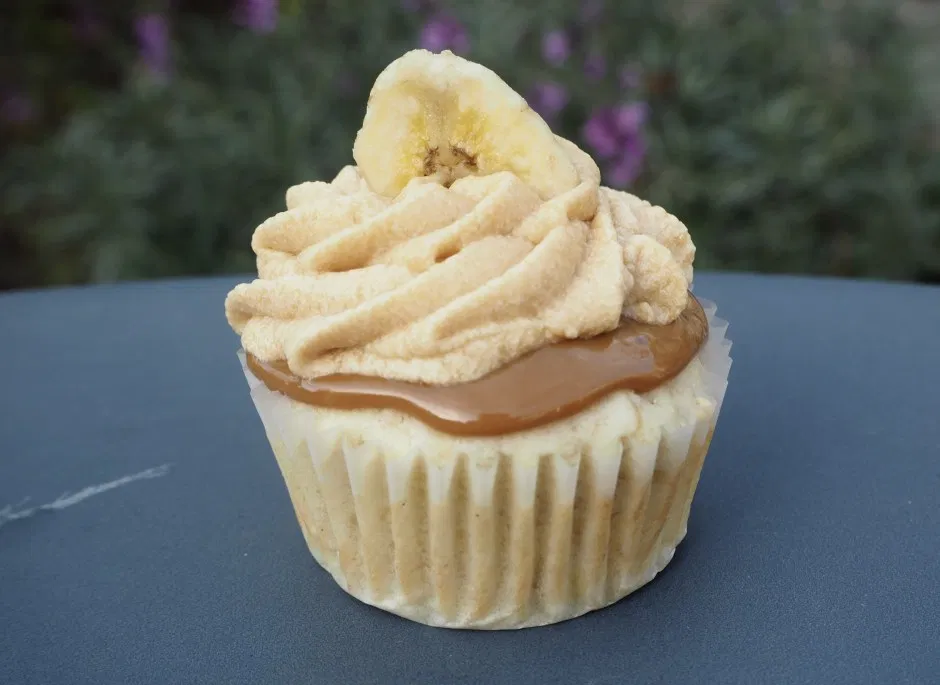
If you love Banoffee Pie and cake, then these little beauties are just for you. A banana filled cupcake is topped with a thin layer of dulce de leche, then finished off with dulce de leech icing. The bottom of the cupcake – the actual cupcake – is all about the banana. and the top is all about dulce de leech! Whats not to love!!

Banoffee Cupcakes
Serves 12
A banana filled cupcake is topped with a thin layer of dulce de leche, then finished off with dulce de leech icing.
Write a review
Save Recipe
Print
Prep Time
20 min
Cook Time
30 min
Total Time
50 min
Prep Time
20 min
Cook Time
30 min
Total Time
50 min
563 calories
82 g
54 g
26 g
3 g
10 g
142 g
235 g
62 g
1 g
14 g
Nutrition Facts
Serving Size
142g
Servings
12
Amount Per Serving
Calories 563
Calories from Fat 229
% Daily Value *
Total Fat 26g
40%
Saturated Fat 10g
52%
Trans Fat 1g
Polyunsaturated Fat 4g
Monounsaturated Fat 10g
Cholesterol 54mg
18%
Sodium 235mg
10%
Total Carbohydrates 82g
27%
Dietary Fiber 2g
6%
Sugars 62g
Protein 3g
Vitamin A
10%
Vitamin C
9%
Calcium
6%
Iron
5%
* Percent Daily Values are based on a 2,000 calorie diet. Your Daily Values may be higher or lower depending on your calorie needs.
For the cupcakes
  1. 2 bananas
  2. 50g sugar
  3. 1 egg
  4. 1 tsp vanilla extract
  5. 50g oil
  6. 125g Self Raising White Flour
For the buttercream
  1. 670g icing sugar
  2. 210g unsalted butter
  3. 5 tbsp whole milk
  4. 30g dulce de leche
To decorate
  1. 50g dulce de leche
  2. banana chips
Instructions
  1. Stand the cupcake cases in the holes of a tart tray and pre-heat the oven to 180C.
  2. Put one banana into a bowl and mash it into a paste.
  3. Mix in the sugar, egg and vanilla.Beat in the oil. Sieve the flour into the bowl and stir to combine.
  4. Divide the mixture between the prepared cake cases.
  5. Slice the remaining banana thinly and lay the slices on the cakes.
  6. Bake for 25-30 minutes. Transfer the cakes onto a wire rack and leave to cool.
  7. For the buttercream, use an electric whisk to beat together the icing sugar and butter until well combined. Gradually add the milk while mixing on a slow speed to make a smooth icing. Add the dulce de leche and mix thoroughly. Turn up the speed and beat until for a further 5-10 minutes, or until the icing is light and fluffy. Transfer to a piping bag fitted with a large star nozzle.
  8. Spread a layer of dulce de leech over your cupcake then pipe a swirl of buttercream on top. Decorate with a banana chip.
beta
calories
563
fat
26g
protein
3g
carbs
82g
more
Forever Baking . . . http://www.foreverbaking.co.uk/

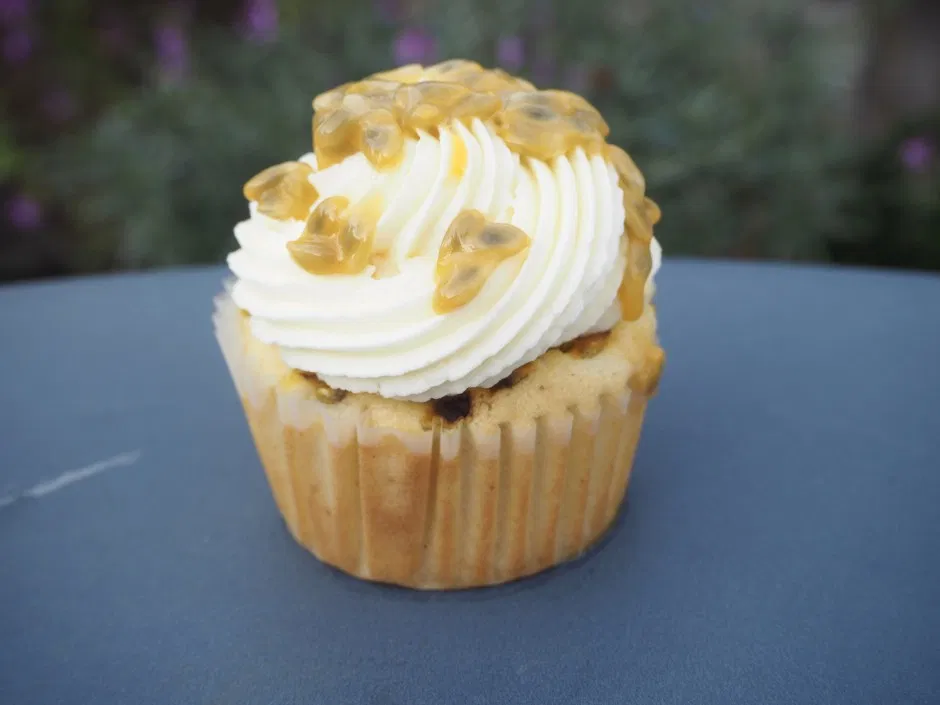
Passionfruit Cupcakes

These cupcakes bake up so perfectly. They are light, tender and soft with a really great hit of passionfruit and a whipped white chocolate buttercream icing.

Passionfruit Cupcskes
Serves 12
These Passion Fruit Cupcakes are light, delicate and pack a real flavour punch.
Write a review
Save Recipe
Print
Prep Time
20 min
Cook Time
15 min
Total Time
40 min
Prep Time
20 min
Cook Time
15 min
Total Time
40 min
582 calories
54 g
141 g
39 g
5 g
24 g
131 g
208 g
44 g
1 g
12 g
Nutrition Facts
Serving Size
131g
Servings
12
Amount Per Serving
Calories 582
Calories from Fat 346
% Daily Value *
Total Fat 39g
60%
Saturated Fat 24g
120%
Trans Fat 1g
Polyunsaturated Fat 2g
Monounsaturated Fat 10g
Cholesterol 141mg
47%
Sodium 208mg
9%
Total Carbohydrates 54g
18%
Dietary Fiber 0g
2%
Sugars 44g
Protein 5g
Vitamin A
23%
Vitamin C
0%
Calcium
7%
Iron
3%
* Percent Daily Values are based on a 2,000 calorie diet. Your Daily Values may be higher or lower depending on your calorie needs.
For the cupcakes
  1. 185 g unsalted butter, softened
  2. 170 g caster sugar
  3. 1 teaspoon natural vanilla extract
  4. 3 eggs
  5. 125 g cream cheese, softened
  6. 1 tablespoon fresh passionfruit pulp (1 passionfruit)
  7. 125 g self-raising flour
  8. 30 g plain (all-purpose) flour
  9. 60 ml milk
For the buttercream
  1. 230g salted butter, softened
  2. 250g icing sugar, sifted
  3. 1 teaspoon vanilla extract
  4. 175g white chocolate
  5. 60ml double cream or milk
Instructions
  1. Preheat the oven to 180°C . Line 12 standard muffin tin with paper cases.
  2. Beat the butter, sugar and vanilla together with electric beaters until light and creamy. Add the eggs, one at a time, beating well after each addition. Add the cream cheese and passionfruit and beat until smooth. Sift the flours together and fold in alternately with the milk.
  3. Divide the mixture evenly among the cases. Bake for 15 minutes, or until a skewer comes out clean when inserted into the centre of a cake. Transfer onto a wire rack to cool.
  4. To make the buttercream melt the white chocolate over a bain-marie. Leave to cool. As the chocolate cools, cream the butter for about a minute or two to soften. Now add the sifted icing sugar in two batches along with the vanilla and beat for another 5 minutes until the frosting is fluffy and light. Mix in the melted chocolate followed by the cream/milk.
  5. Pipe the buttercream onto your cupcakes and spoon over a tsp of passionfruit.
beta
calories
582
fat
39g
protein
5g
carbs
54g
more
Forever Baking . . . http://www.foreverbaking.co.uk/

Creme Brûlée Cupcakes

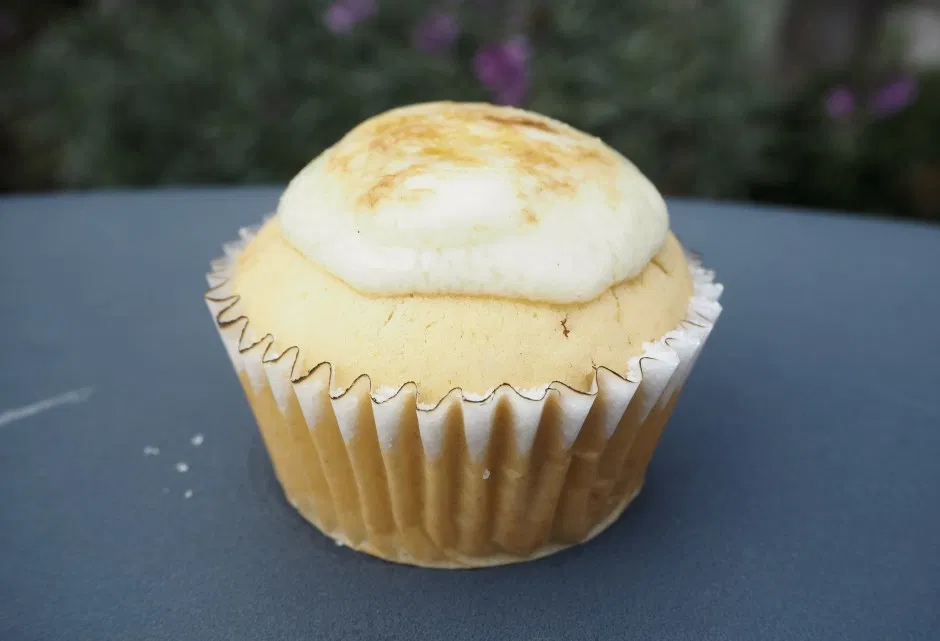
If you are like me and love French pastries then you’ll adore these cupcakes. Not only do you get a delicious homemade cupcake but you also get a rich, vanilla bean pastry cream topping that’s generously coated with sugar and brûléed to a crisp and crunchy perfection.

Creme Brûlée Cupcakes
Serves 12
These Creme Brûlée Cupcakes are made with a moist custard cupcake and pastry cream topping with a caramelized sugar top!
Write a review
Save Recipe
Print
Prep Time
1 hr
Cook Time
20 min
Total Time
1 hr 20 min
Prep Time
1 hr
Cook Time
20 min
Total Time
1 hr 20 min
267 calories
32 g
136 g
13 g
5 g
8 g
94 g
117 g
21 g
0 g
5 g
Nutrition Facts
Serving Size
94g
Servings
12
Amount Per Serving
Calories 267
Calories from Fat 118
% Daily Value *
Total Fat 13g
20%
Saturated Fat 8g
38%
Trans Fat 0g
Polyunsaturated Fat 1g
Monounsaturated Fat 4g
Cholesterol 136mg
45%
Sodium 117mg
5%
Total Carbohydrates 32g
11%
Dietary Fiber 0g
2%
Sugars 21g
Protein 5g
Vitamin A
10%
Vitamin C
0%
Calcium
5%
Iron
3%
* Percent Daily Values are based on a 2,000 calorie diet. Your Daily Values may be higher or lower depending on your calorie needs.
For Pastry Cream
  1. 4 medium free-range egg yolks
  2. 65g caster sugar
  3. 15g plain flour
  4. 15g cornflour
  5. 350ml whole milk
  6. ½ tsp vanilla bean paste
  7. icing sugar, for dusting
For the cupcakes
  1. 3 tbsp custard powder
  2. 140g slightly salted butter, softened
  3. 140g golden caster sugar
  4. 3 eggs
  5. 1 tsp vanilla extract
  6. 140g self-raising flour
Instructions
  1. In a large mixing bowl, whisk together the eggs and sugar until they turn a pale gold colour. Whisk in the flour and cornflour and set aside.
  2. Place the milk and vanilla bean paste in a heavy-bottomed saucepan, bring to a gentle simmer, stirring frequently. Remove the pan from the heat and let cool for 30 seconds.
  3. Slowly pour half of the hot milk onto the egg mixture, whisking all the time, then return the mixture to the remaining milk in the pan. It is important to slowly pour the hot milk onto the cold eggs before you return the mixture to the pan to prevent the eggs from scrambling.
  4. Bring the mixture back to the boil and simmer for one minute, whisking continuously, or until smooth.
  5. Pour the cream into a clean bowl and dust with icing sugar to prevent a skin forming. Cool as quickly as possible, by sitting the bowl of pastry cream in another larger bowl of ice water. When cooled, refrigerate until needed.
  6. Heat the oven to 180C/160C fan. Line a 12-hole muffin tin with muffin cases. In a large bowl, beat the butter and sugar together, using an electric whisk, until light and fluffy. Slowly add the eggs and vanilla extract, whisking well after each addition. Fold in the flour, then stir through the custard powder. Divide the mixture between the muffin cases and bake for 18-20 mins until lightly golden, and a skewer inserted into the centre comes out clean. Leave to cool on wire racks.
  7. Spread chilled pastry cream over the cooled cupcakes into an even layer. Working with one cupcake at a time, sprinkle the pastry cream with sugar then heat with a kitchen torch until sugar begins to melt and caramelise.
beta
calories
267
fat
13g
protein
5g
carbs
32g
more
Forever Baking . . . http://www.foreverbaking.co.uk/

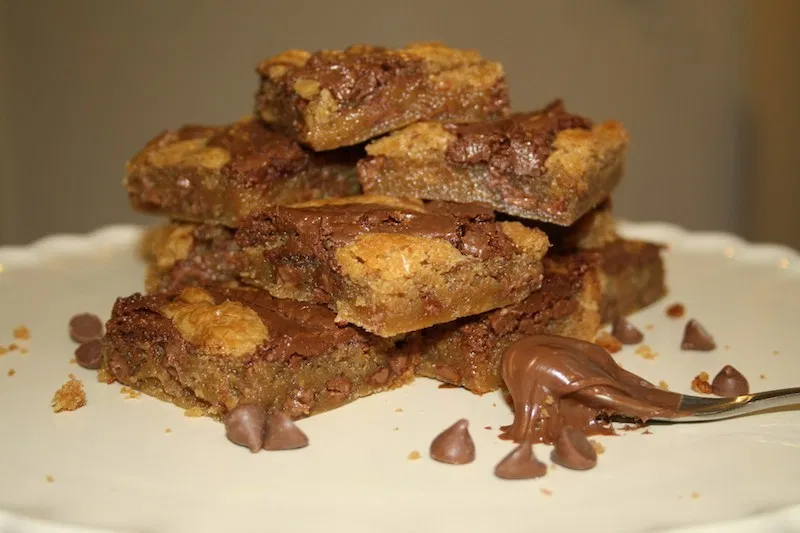
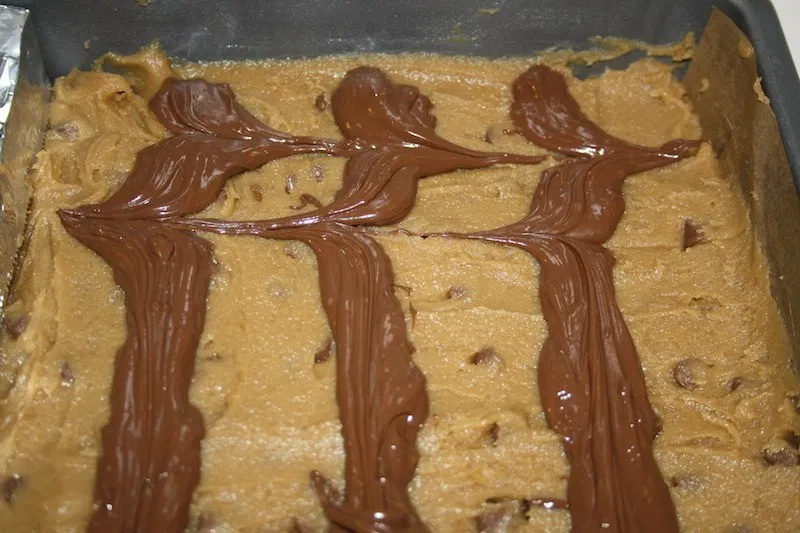
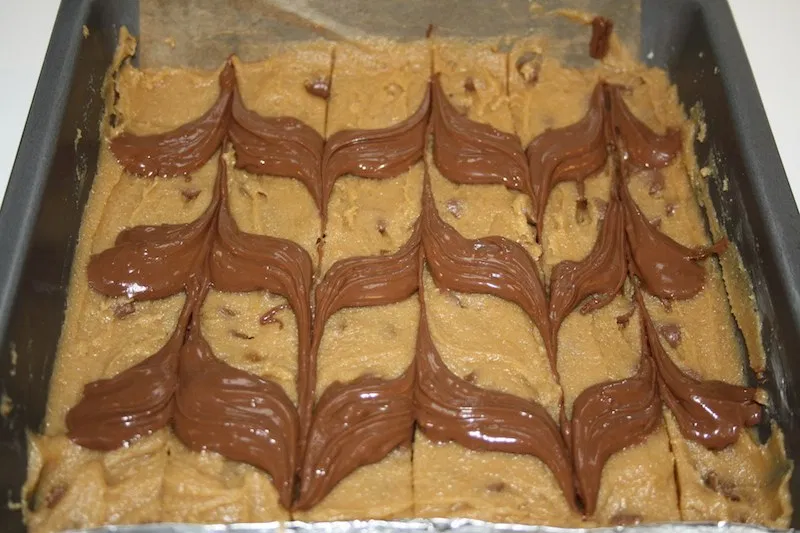
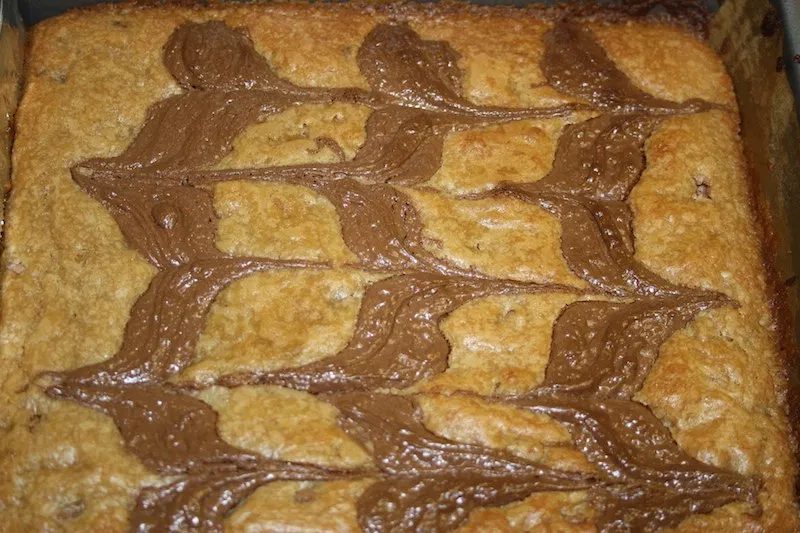
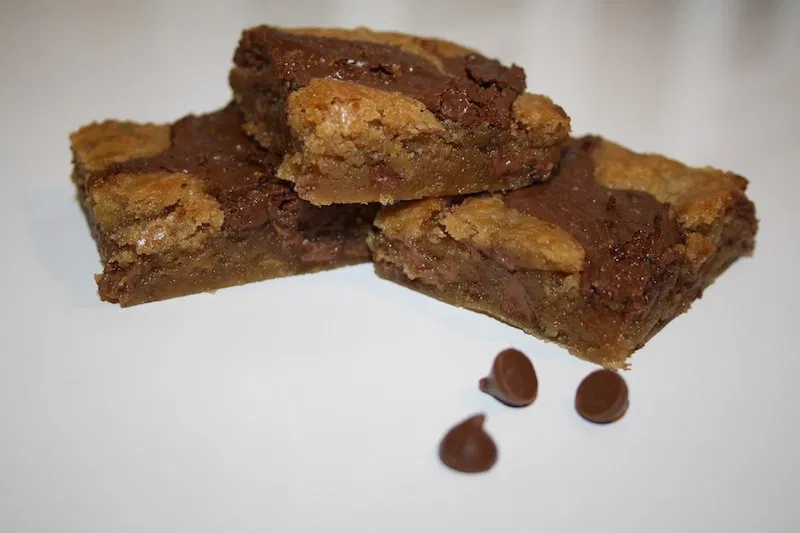
Hazelnut Torte cupcakes

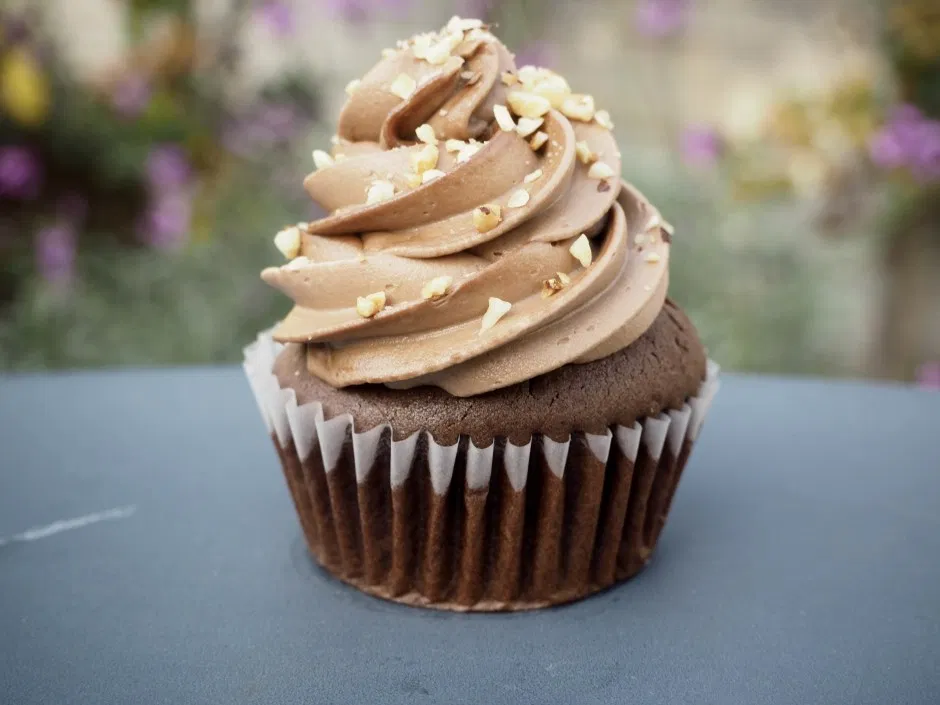
Sometimes chocolate alone just won’t do, which is why I’ve added irresistible hazelnut chocolate spread to these cupcakes. Decorate with hazelnuts for extra crunch.

Hazelnut Torte Cupcakes
Serves 12
Go nuts for these hazelnut and chocolate cupcakes!
Write a review
Save Recipe
Print
Prep Time
20 min
Cook Time
25 min
Total Time
55 min
Prep Time
20 min
Cook Time
25 min
Total Time
55 min
556 calories
60 g
95 g
32 g
7 g
22 g
124 g
55 g
42 g
1 g
7 g
Nutrition Facts
Serving Size
124g
Servings
12
Amount Per Serving
Calories 556
Calories from Fat 287
% Daily Value *
Total Fat 32g
50%
Saturated Fat 22g
112%
Trans Fat 1g
Polyunsaturated Fat 1g
Monounsaturated Fat 6g
Cholesterol 95mg
32%
Sodium 55mg
2%
Total Carbohydrates 60g
20%
Dietary Fiber 3g
12%
Sugars 42g
Protein 7g
Vitamin A
12%
Vitamin C
0%
Calcium
12%
Iron
13%
* Percent Daily Values are based on a 2,000 calorie diet. Your Daily Values may be higher or lower depending on your calorie needs.
For the cupcakes
  1. 175g unsalted butter, at room temperature
  2. 175g golden caster sugar
  3. 3 large eggs, free-range or organic
  4. 200g self-raising flour, sifted
  5. 1 tsp baking powder
  6. 2 tsp ground cinnamon
  7. 4 tbsp milk
  8. 12 tsp Nutella chocolate hazelnut spread
For the buttercream
  1. 300g good-quality milk chocolate
  2. 60ml double cream
  3. 2 tbsp unsalted butter
  4. ½ tsp vanilla extract
  5. 250g Nutella chocolate hazelnut spread
  6. chopped hazelnuts
Instructions
  1. Preheat the oven to 180°C and line a 12-hole muffin tray with muffin cases.
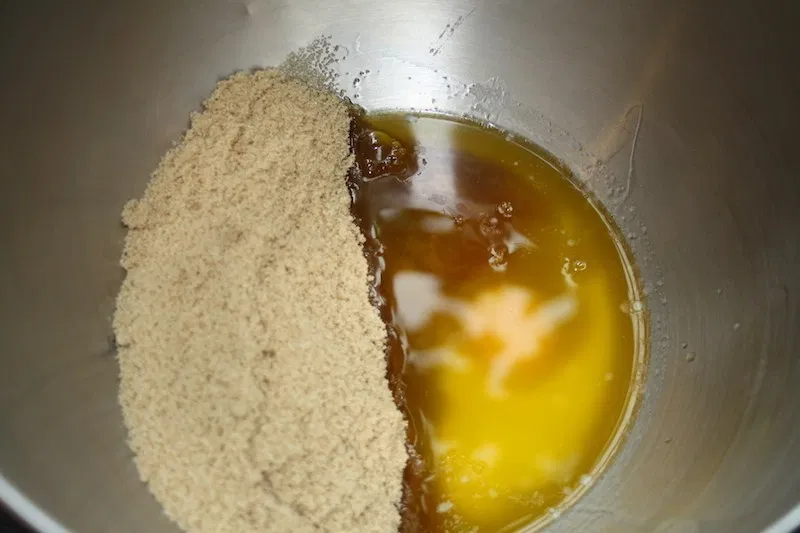
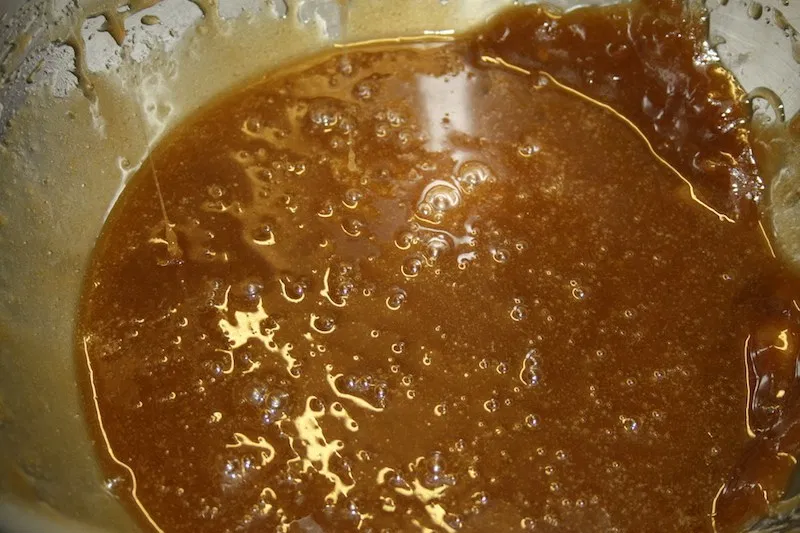
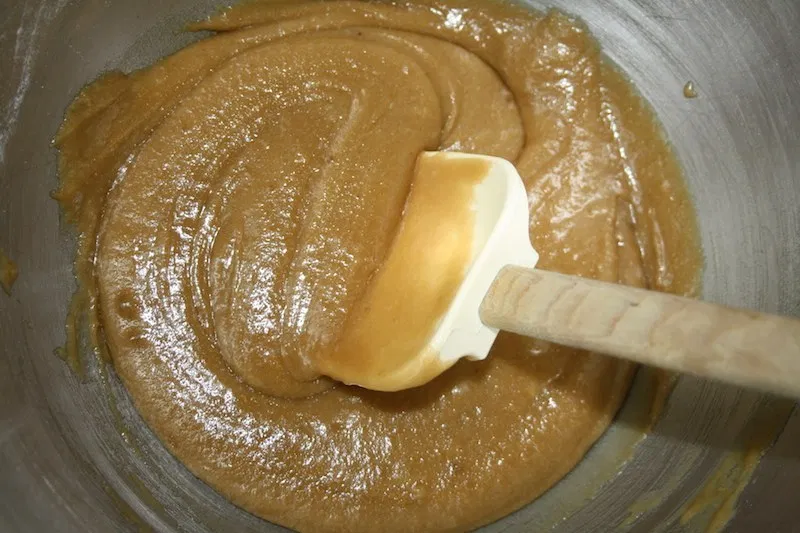
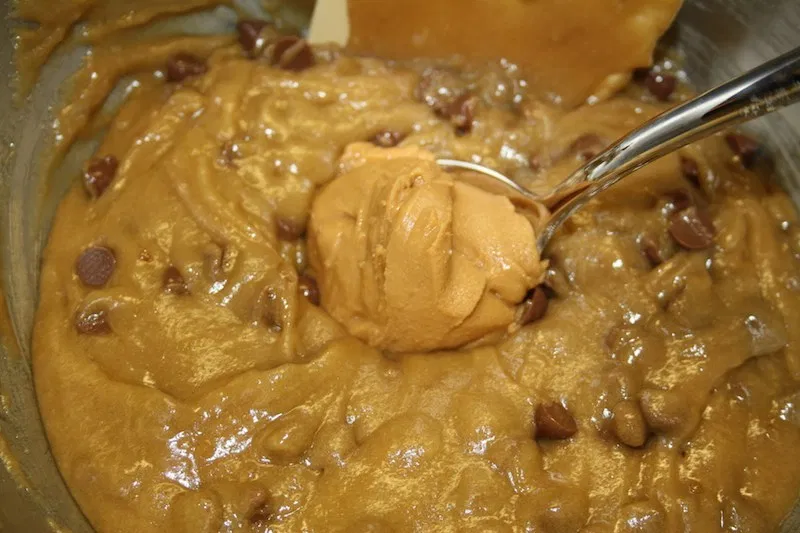
  2. In a bowl cream the butter and sugar with an electric hand mixer until the mixture is pale and smooth. Beat in the eggs, one at a time, mixing briefly after each addition. Gradually beat in the flour, baking powder and cinnamon and then the milk. Heat the Nutella in a small pan on the hob until very slightly warm. Divide the batter evenly between the muffin cases, to about two-thirds full. Spoon a teaspoonful of the warmed Nutella on top of each and gently swirl it through the batter with a skewer or small spoon. Bake in the centre of the oven for 20-25 minutes, or until raised and golden brown and a skewer inserted into the centre of one of the cakes comes out clean. Allow the cupcakes to cool in their tin for 10 minutes before turning them out onto a wire rack.
  3. Melt the chocolate either in a heatproof bowl over a saucepan of simmering water on the hob, or in a microsafe bowl in the microwave (heat on a medium heat for 1 minute, stir and then heat for a further minute, taking care not to burn the chocolate). When the chocolate is melted and runny, pour into a large mixing bowl and allow to cool slightly.
  4. Add the double cream, butter and vanilla extract and beat well with an electric hand mixer. Beat in the Nutella until the icing is smooth and creamy. It should be suitable to use straight away, but if it is a little runny put it into the fridge for half an hour or so.
  5. Pipe the buttercream on the cooled cupcakes using a str nozzle and sprinkle with chopped hazelnuts.
beta
calories
556
fat
32g
protein
7g
carbs
60g
more
Forever Baking . . . http://www.foreverbaking.co.uk/
SaveSave

SaveSave

SaveSave

SaveSave

Ferrero Rocher and Nutella Cheesecake Cake

Posted on September 26, 2016 in Cakes

This one is for all lovers of Nutella and Ferrero Rocher!! If you’re looking a way to really impress your guests, this cake is the perfect way to go. It doesn’t just look delicious but it also taste delicious! 

This Ferrero Rocher and Nutella Cake is as decadent as the name implies. This could be my favourite creation of all time!

I know, I know I say that about everything, but honestly I have not tasted such an amazing combination of the greatest recipes in a very long time!

I’m absolutely addicted to Ferrero Rocher chocolates.  They’re heavenly and I cannot seem to get enough of them. Perhaps that was my biggest motivation to create an entire cake recipe, based on Ferrero Rocher chocolates.

The secret cheesecake layer inside is so creamy, so delicious, and unbelievable. The recipe for the cheesecake is delicious as you have the yummy creamy Nutella flavour with Ferrero Rocher dotted throughout the mixture giving texture and even more flavour!

This special “cheesecake cake” is made with irresistible moist and tender chocolate cake layers enveloping a heavenly Nutella and  Ferrero Rocher Cheesecake layer with a mousse-like texture.

First of all you need to trim your chocolate cakes so the have a flat top and bottom. Use Tala’s cake leveller.

Take a cake board and place your first cooled chocolate cake on using Tala’s cake lifter.

Spread a layer of Nutella buttercream over the cake with a Tala pallet knife. Next remove your cheese cake from the tin being very carful as it will still be slightly wobbly and place of top of your cake layer. Next add your second cake layer on top of the cheesecake and gently press down. Take your Tala spatular knife and cover the entire cake in a thin layer of the Nutella buttercream. Once you have crumb coated the cake place into the fridge to set. 

Once the crumb coat has set you can put the remaining buttercream (except six tablespoons which should be put to the side) on the cake. Using one of Talas patterned cake scrapers simply scrape along the side of the cake to create a stylish texture and design. Take your chopped hazelnuts and press along the bottom of the cake. 

Now you need to heat the double cream in the microwave for one minute, then add the chopped chocolate and stir until you have a smooth chocolate ganache. Pour the chocolate ganache on top off the cake and allow it to drizzle down the sides.

Use the Nutella buttercream you put to the side to pipe swirls.

You can use the Pink Queen icing bag set, the Icing bag set or the dual icing bag set depending of the the type of swirl you want. 

Next spray your chocolate Ferrero Rocher’s with edible gold spray paint. When dry place them on top of your chocolate Nutella swirl. 

Ferrero Rocher and Nutella Cheesecake Cake
Serves 16
This one is for all lovers of Nutella and Ferrero Rocher!! If you’re looking a way to really impress your guests, this cake is the perfect way to go. It doesn’t just look delicious but it also taste delicious! The secret cheesecake layer gives the perfect texture between the light chocolate cakes.
Write a review
Save Recipe
Print
Prep Time
30 min
Cook Time
1 hr
Total Time
2 hr
Prep Time
30 min
Cook Time
1 hr
Total Time
2 hr
1158 calories
109 g
239 g
76 g
11 g
47 g
270 g
516 g
82 g
1 g
24 g
Nutrition Facts
Serving Size
270g
Servings
16
Amount Per Serving
Calories 1158
Calories from Fat 676
% Daily Value *
Total Fat 76g
118%
Saturated Fat 47g
237%
Trans Fat 1g
Polyunsaturated Fat 6g
Monounsaturated Fat 18g
Cholesterol 239mg
80%
Sodium 516mg
21%
Total Carbohydrates 109g
36%
Dietary Fiber 4g
15%
Sugars 82g
Protein 11g
Vitamin A
35%
Vitamin C
1%
Calcium
24%
Iron
24%
* Percent Daily Values are based on a 2,000 calorie diet. Your Daily Values may be higher or lower depending on your calorie needs.
For the cheesecake
  1. 2x 280g Full-Fat Philadelphia Cream Cheese
  2. 300g Nutella
  3. 100g Icing Sugar
  4. 1tsp Vanilla Bean Extract
  5. 300ml Double Cream
  6. 12 Ferrero Rocher, Chopped up
Decoration
  1. 7 Ferrero Rocher
  2. 50g Finely Chopped Hazelnuts
  3. 100g Dark Chocolate, melted
  4. 150ml Double cream
For the chocolate cake
  1. 200g caster sugar
  2. 200g soften butter
  3. 4 eggs
  4. 200g self raising flour
  5. 40g coco powder
  6. 1 tsp baking powder
  7. 2 tbsp milk
For the chocolate cake
  1. 200g caster sugar
  2. 200g soften butter
  3. 4 eggs
  4. 200g self raising flour
  5. 40g coco powder
  6. 1 tsp baking powder
  7. 2 tbsp milk
Nutella Buttercream
  1. 300g unsalted butter, softened
  2. 600g icing icing sugar, sifted
  3. 2 tsp vanilla extract
  4. 400g Nutella or other chocolate hazelnut spread
  5. 3-4 tbsp milk
Instructions
  1. With an electric stand mixer with the whisk attachment whisk the Cream Cheese, Vanilla, Icing Sugar and Nutella until smooth. Then pour in the double cream and whisk on a medium level until its thick and holds itself completely! You will know when its done as it it won’t thicken any more.
  2. Fold through the chopped up Ferrero Rocher and spread the mixture evenly in a tin. Chill in the fridge for at least 5-6 hours, but preferably overnight.
  3. Heat oven to 190C. Butter two 20cm sandwich tins and line with non-stick baking paper. In a large bowl, beat all the cake ingredients together until you have a smooth, soft batter.
  4. Divide the mixture between the tins, smooth the surface with a spatula or the back of a spoon, then bake for about 20 mins until golden and the cake springs back when pressed. Turn onto a cooling rack and leave to cool completely.
  5. In a stand mixer fitted with the paddle attachment. Add the softened butter, mix on a low speed to soften slightly.
  6. Add the icing sugar and starting on a low speed mix until the butter and sugar are combined. Then turn the speed up to medium and beat for 5-7 minutes or until creamy and fluffy. Make sure you scrape down the sides of the mixer halfway through to ensure even mixing.
  7. Now add the Nutella and cream and beat until combined.
  8. First of all you need to trip your chocolate cakes so the have a flat top and bottom. Use Tala’s cake leveller. Take a cake board and place your first cooled chocolate cake on using Tala’s cake lifter. Spread a layer of Nutella buttercream over the cake with a Tala pallet knife. Next remove your cheese cake from the tin being very carful as it will still be slightly wobbly and place of top of your cake layer. Next add your second cake layer on top of the cheesecake and gently press down. Take your Tala spatular knife and cover the entire cake in a thin layer of the Nutella buttercream. Once you have crumb coated the cake place into the fridge to set.
  9. Once the crumb coat has set you can put the remaining buttercream (except six tablespoons which should be put to the side) on the cake. Using one of the patterned cake scrapers simply scrape along the side of the cake to create a stylish texture and design.
  10. Now you need to heat the double cream in the microwave for one minute. then add the chopped chocolate and stir until you have a smooth chocolate ganache. Pour the chocolate ganache on top off the cake and allow it to drizzle down the sides. Use the Nutella buttercream you put to the side to pipe swirls. You can use the Pink Queen icing bag set, The Icing bag set or the dual icing bag set depending of the the type of swirl you want.
  11. Next spray your chocolate Ferrero Rocher’s with edible gold spray paint. When dry place them on top of your chocolate Nutella swirl.
beta
calories
1158
fat
76g
protein
11g
carbs
109g
more
Forever Baking . . . http://www.foreverbaking.co.uk/

Nutella Filled Pancakes with Caramelised Banana

Posted on February 5, 2016 in Breakfast Recipes

OLYMPUS DIGITAL CAMERA

On the 9th February, Britain will be going flipping mad as families around the country indulge in sweet and savoury pancakes 40 days ahead of Lent. And what’s better than these Nutella filled pancakes topped with caramelised bananas and crushed hazelnuts sprinkled on top.

OLYMPUS DIGITAL CAMERA

When I saw this recipe of Nutella stuffed pancakes in Good Food Magazine,  I immediately knew that I would be including them in my breakfast recipe collection. Regular, plain pancakes are a bit boring. Pancakes filled with Nutella….perfect. 

OLYMPUS DIGITAL CAMERA

These fluffy american style pancakes have become very popular in the UK. They’re sweet and comforting and even better drizzled with maple syrup! 


Nutella filled Pancakes with Caramelised Banana
Serves 4
Write a review
Save Recipe
Print
Prep Time
25 min
Cook Time
30 min
Total Time
55 min
Prep Time
25 min
Cook Time
30 min
Total Time
55 min
786 calories
106 g
157 g
34 g
16 g
20 g
294 g
103 g
54 g
0 g
12 g
Nutrition Facts
Serving Size
294g
Servings
4
Amount Per Serving
Calories 786
Calories from Fat 301
% Daily Value *
Total Fat 34g
52%
Saturated Fat 20g
100%
Trans Fat 0g
Polyunsaturated Fat 3g
Monounsaturated Fat 9g
Cholesterol 157mg
52%
Sodium 103mg
4%
Total Carbohydrates 106g
35%
Dietary Fiber 7g
27%
Sugars 54g
Protein 16g
Vitamin A
10%
Vitamin C
11%
Calcium
25%
Iron
24%
* Percent Daily Values are based on a 2,000 calorie diet. Your Daily Values may be higher or lower depending on your calorie needs.
Ingredients
  1. 200g self-raising flour
  2. 1 ½ tsp baking powder
  3. 3 tbsp golden caster sugar
  4. 3 large eggs
  5. 25g melted butter, plus extra for cooking
  6. 200ml milk
  7. drizzle of vegetable or sunflower oil
  8. 200g chocolate hazelnut spread
  9. 2 large bananas, peeled and thickly sliced on an angle
  10. maple syrup
  11. 4 tbsp toasted, chopped hazelnuts, to serve
Instructions
  1. To make the pancake batter, mix the flour, baking powder, 1 tbsp sugar and a pinch of salt in a large bowl with a whisk. Make a well in the centre, crack in the eggs and add the melted butter and milk. Whisk the wet ingredients in the centre until combined, then gradually incorporate the dry ingredients until you have a thick, smooth batter. Transfer to a jug. Heat the oven to its lowest setting and put a couple of baking trays in to keep the pancakes warm as you cook them.
  2. Heat a knob of butter and a drizzle of oil in a large, non-stick frying pan over a medium heat. When the butter is foaming, pour rounds of batter into the pan, about 8cm wide – leave space between them as they will expand as they cook. Scoop teaspoons of chocolate spread from the jar and pop one in the centre of each pancake, then use a tiny bit more batter to just cover the chocolate spread. Continue cooking for 1-2 mins until the underside is golden brown, then carefully flip the pancakes and cook for 1 min more on the other side. When golden, transfer to a baking tray and keep warm in the oven while you cook the next batch.
  3. When the pancakes are all cooked, caramelise the bananas. Wipe the frying pan clean with kitchen paper and scatter in the remaining 2 tbsp sugar. Heat the sugar until it melts and starts to bubble to a deep amber colour, then toss in the bananas and coat them in the caramel. If the sugar hardens, drizzle in a little maple syrup or water, then bubble for 30 secs until syrupy.
  4. Serve the pancakes stacked with the caramelised banana pieces between the layers and more piled on top. Drizzle over the maple syrup, then scatter over the hazelnuts.
Adapted from Good Food
beta
calories
786
fat
34g
protein
16g
carbs
106g
more
Adapted from Good Food
Forever Baking . . . http://www.foreverbaking.co.uk/

Nutella Filled Doughnuts

Posted on February 5, 2015 in Doughnuts
As its world Nutella day I thought I’d share this srummy recipe with you lovely lot. These doughnuts are incredibly light and fluffy and are filled with indulgent Nutella. I’ll have to be honest – donuts are not the easiest recipe to crack! I had to work through some failed attempts to achieve the perfect consistency. From my personal experience you should always go by time it takes for the dough to double in size and not the number of hours or minutes listed in the recipe.
 
 
Ingredients:

250g plain flour

30g caster sugar

110g caster sugar for coating

1 tsp salt

2 tsp dried yeast

2 eggs

zest of half a lemon

75ml warm water

65g butter, softened and cut into small squares

400 ml vegetable oil

Put all the ingredients for the donuts, except the butter, into the bowl of a free standing mixer fitted with the dough hook. Work on a low speed for about 4 minutes, until combined and  the dough is elastic.

While the mixer is still running, add the butter piece by piece, until incorporated. You should no be able to see any butter . This will take about 6 minutes.

Scrape down the sides of the bowl and cover with cling film. Set it aside in a warm place to rise and double in size.

When the dough has risen, punch it down, and put onto a well-floured surface. Gently pat down the dough into a square about 1cm thick and cut out 12 donuts using a 5cm round cutter.

Place the doughnuts on a lined baking sheet, cover with cling film again, and set aside to rise for an hour or until the doughnuts to puffy.

When the donuts are finished their second rise,  they should look a little puffy (see below).

Place about 3 inches of oil into a saucepan, heat the oil over a low flame, until it reaches 170C. If you don’t have a sugar thermometer, place a small piece of dough in the oil, and when it bubbles and rises to the surface, the oil should be the right temperature.

Fry the donuts a few at a time for about 1 minute each side or until they are golden brown.

Place the donuts on paper towels to soak the excuses oil, and  then toss them in the sugar.

Make a small hole on the side of the doughnuts and pipe some Nutella into each doughnut!

Nutella Swirl Peanut Butter Blondies

Posted on February 4, 2014 in Brownies

IMG_6644These blondies will definitely satisfy Nutella and peanut butter lovers. They are made from brown sugar, peanut butter and melted butter which makes them super soft, yet gooey. Milk chocolate chips are then added and Nutella is then swirled on top to not only give the blondies a great appearance but to add depth, richness, and a pop of chocolate.

This recipe is ideal, you will only use one bowl and they’ll be ready in 30minutes!

Ingredients:

110g unsalted butter, melted

1 large egg

175g light brown sugar

1 tablespoon vanilla extract

150g plain flour

150g milk chocolate chips

1 tablespoon peanut butter

75g Nutella

Directions:

Preheat oven to 180 C. Line an 8-by-8-inch baking tin with aluminium foil and grease.

In a microwave-safe bowl melt the butter, about 1 minute on high power.

Wait a minute before adding the egg so you don’t scramble it. Add the egg, brown sugar, vanilla, and whisk until smooth.

IMG_6625

IMG_6626

Add the flour and stir until just combined.

IMG_6630

Stir in the milk chocolate chip chips.

IMG_6631

Add the peanut butter and stir until evenly dispersed.

IMG_6632

Turn batter out into prepared pan, smoothing the top lightly with a spatula.

To create the marbled pattern shown, drizzle the Nutella over the batter in three parallel lines, evenly spaced. Next rotate the pan 90 -degrees. With a toothpick, starting at the top of the pan, drag the toothpick through the Nutella 5/6 times.

IMG_6634

IMG_6636

Bake for about 20 to 25 minutes, or until done. A toothpick inserted in the centre should come out clean, or with a few moist crumbs.

IMG_6639

Allow the blondes to cool in the baking tin for about 40minutes and then transfer to a wire rack to finish cooling. You can then cut into squares to serve.

IMG_6654

IMG_6653IMG_6661

Nutella Stuffed Chocolate Chip Cookies

Posted on October 6, 2013 in Cookies

This recipe will not disappoint. They are simple to make and only take 10 minutes to bake. If you are a lover of Nutella like me then these cookies are just for you! Along with chunks of chocolate with every bite, the gooey Nutella middle makes them even more delicious. Its combination of chocolate and hazelnuts is just divine.

Ingredients:

250g plain flour

1 teaspoon baking powder

110g butter

150g golden caster sugar

100g light brown sugar

2 large eggs

1 teaspoon vanilla extract

180g chocolate chips

200g Nutella

Preheat oven to 180° C. In a stand or electric mixer, beat the butter and sugars until light and fluffy.

Add eggs and vanilla, continue to beat until well combined. Don’t worry if the mixture looks as though it has split. It will come together once the flour is added.

Place flour and baking powder into a bowl; mix to combine then add slowly to wet ingredients along with the chocolate chips.

Scoop a large spoonful of dough and flatten it into the palm of your hand. Gently place a tablespoon of Nutella into the middle. Then fold cookie dough back up so that it seals and covers the Nutella entirely.

Bake for about 10 minutes or until edges are golden brown. No longer otherwise you will not achieve the Nutella gooey middle. Remove and let cool for a few minutes before serving.

Back to top
Follow

Get every new post delivered to your Inbox

Join other followers:

%d bloggers like this: