Browsing Tag

Layer cake

Naked Vanilla Layer Cake with Chocolate Drip

Posted on October 8, 2018 in Cakes

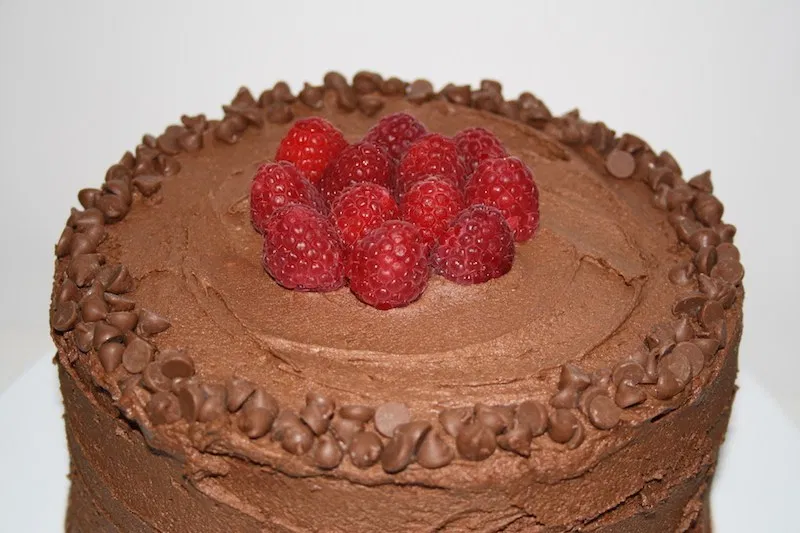
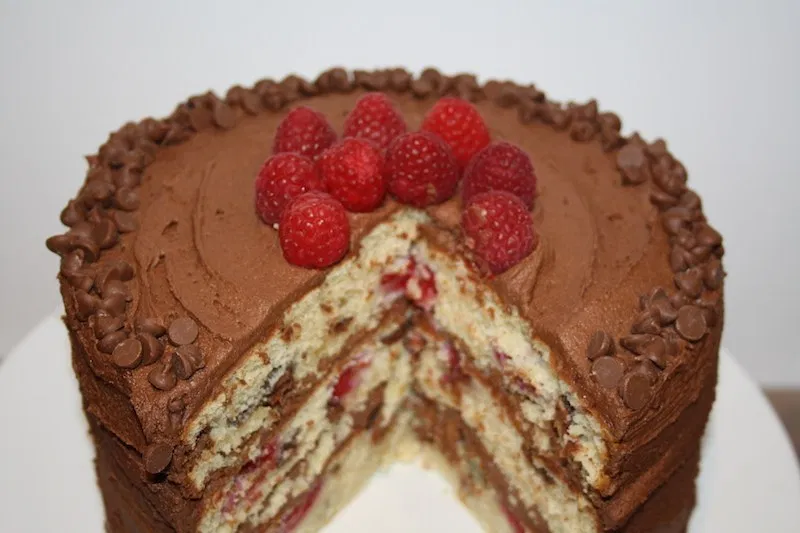
Doves Farm are celebrating their 40th Birthday this week so it gives me the perfect excuse to bake another cake! Not any cake but the BEST vanilla cake!!

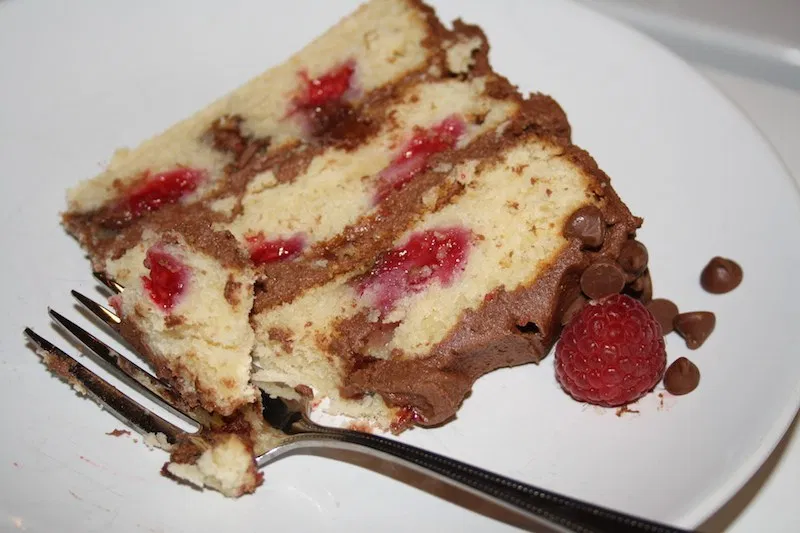
There are a number of recipes claiming to be the best Vanilla cake but I believe at last I have found it! This recipe gives you a super light and moist cake yet is stable enough for you you to stack and layer with buttercream without crumbling everywhere.

Another great perk to this recipe is that you can make it all in one bowl! So yes, less mess and tidying up.

The secret ingredients in this recipe are the Doves Farm Organic Plain White Flour and the buttermilk, which makes the sponges moist and light.

While buttermilk can be found is most supermarkets nowadays don’t panic if you can’t find any as it’s very easy to make your own buttermilk at home using milk and lemon juice. To every 250ml of milk you add a tablespoon of lemon juice. It’s that simple!!

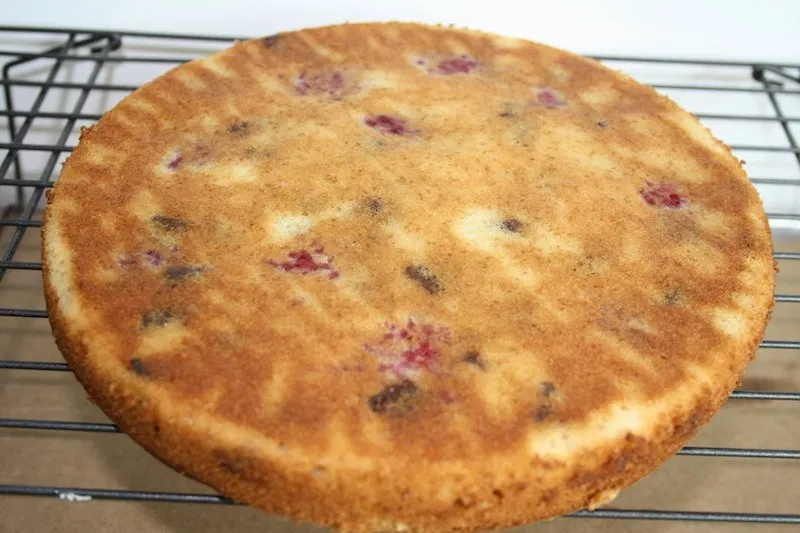
One other thing I love so much about this vanilla recipe is that it bakes sponges that cool with a flat top. This means no more waste when having to trim off the top of cakes that have risen and domed.

Naked Vanilla Layer Cake with Chocolate Drip
Serves 10
This now is the only vanilla cake recipe I use! The cake sponge is super soft, buttery and moist. Its super easy and tastes delicious!
Write a review
Save Recipe
Print
Prep Time
10 min
Cook Time
40 min
Total Time
1 hr 30 min
Prep Time
10 min
Cook Time
40 min
Total Time
1 hr 30 min
1008 calories
145 g
104 g
45 g
10 g
26 g
277 g
444 g
110 g
1 g
15 g
Nutrition Facts
Serving Size
277g
Servings
10
Amount Per Serving
Calories 1008
Calories from Fat 392
% Daily Value *
Total Fat 45g
69%
Saturated Fat 26g
131%
Trans Fat 1g
Polyunsaturated Fat 2g
Monounsaturated Fat 13g
Cholesterol 104mg
35%
Sodium 444mg
19%
Total Carbohydrates 145g
48%
Dietary Fiber 2g
8%
Sugars 110g
Protein 10g
Vitamin A
23%
Vitamin C
1%
Calcium
14%
Iron
7%
* Percent Daily Values are based on a 2,000 calorie diet. Your Daily Values may be higher or lower depending on your calorie needs.
For the cake
  1. 415g all-purpose flour
  2. 600g granulated sugar
  3. 2 1/2 tsp baking powder
  4. 1 tsp salt
  5. 225g unsalted butter, room temperature
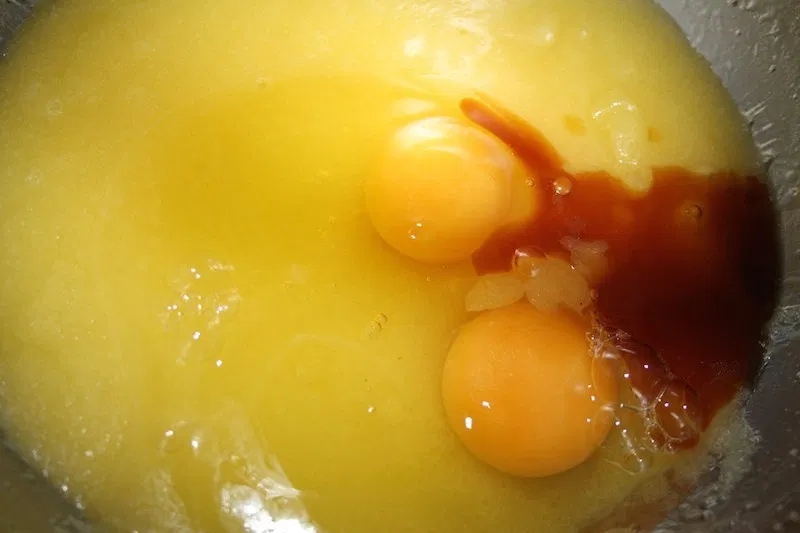
  6. 2 tsp. vanilla extract
  7. 7 egg whites
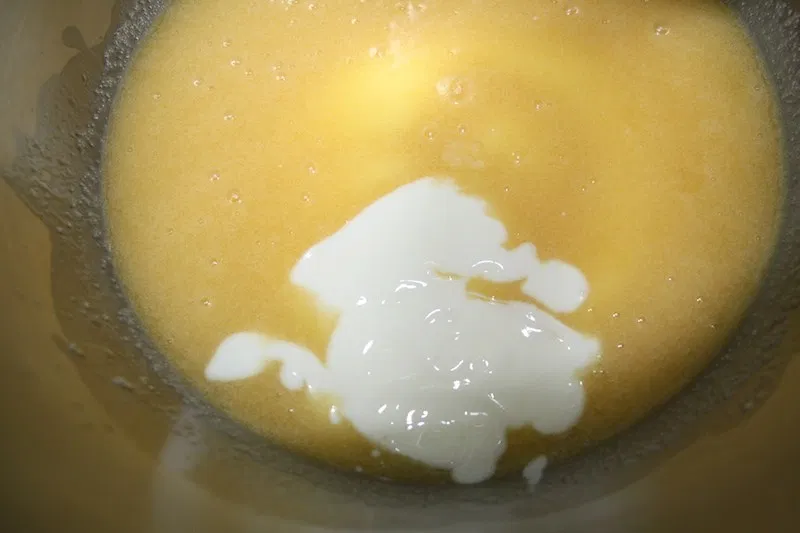
  8. 360ml buttermilk, room temperature
  9. 28ml vegetable oil
For the buttercream
  1. 200g unsalted butter, room temperature
  2. 450g icing sugar
  3. 1/2 tsp salt
  4. 2 Tbsp milk
  5. 1 Tbsp vanilla extract
For the chocolate ganache
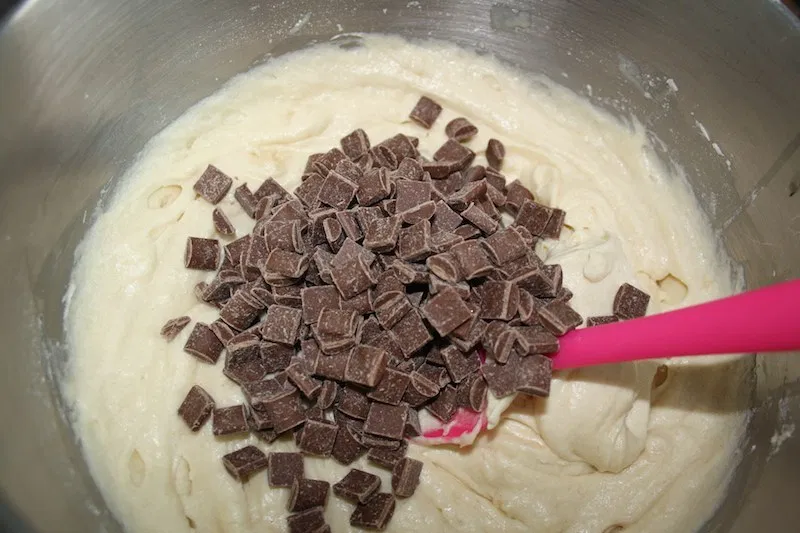
  1. 100g dark chocolate, finely chopped
  2. 75g double cream
Instructions
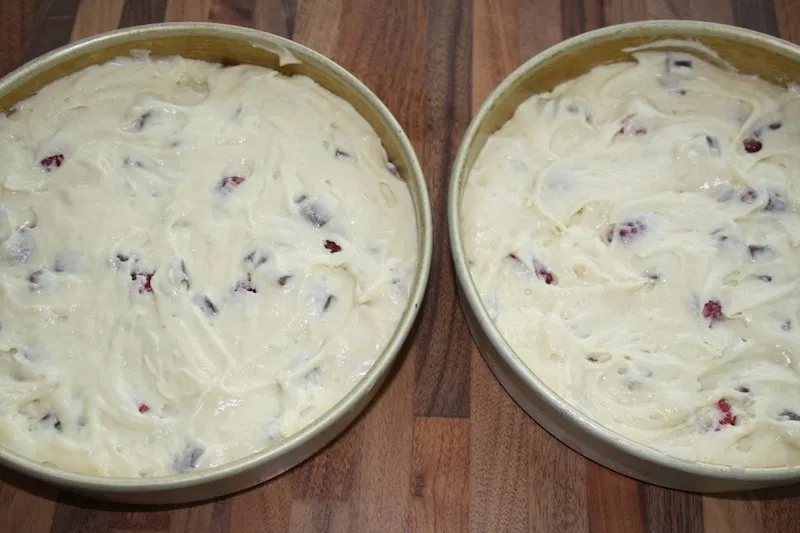
  1. Preheat oven to 175°C. Line four 7 inch pans with baking paper and grease with non-stick cooking spray
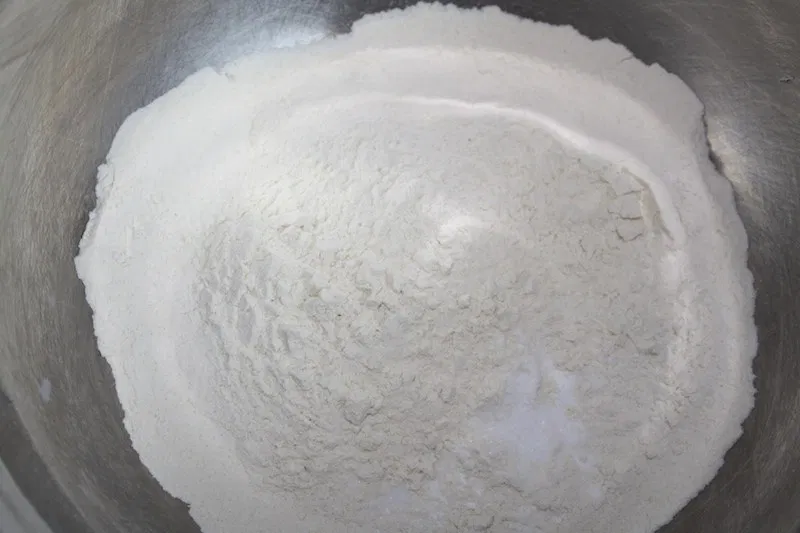
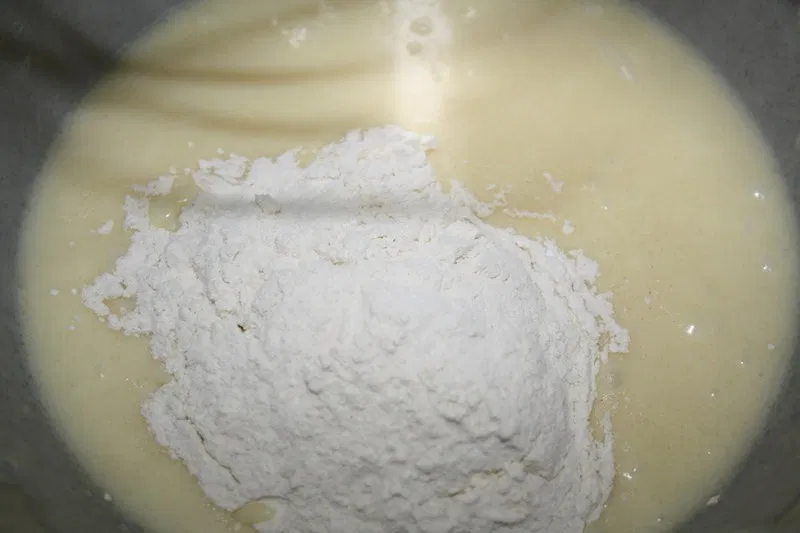
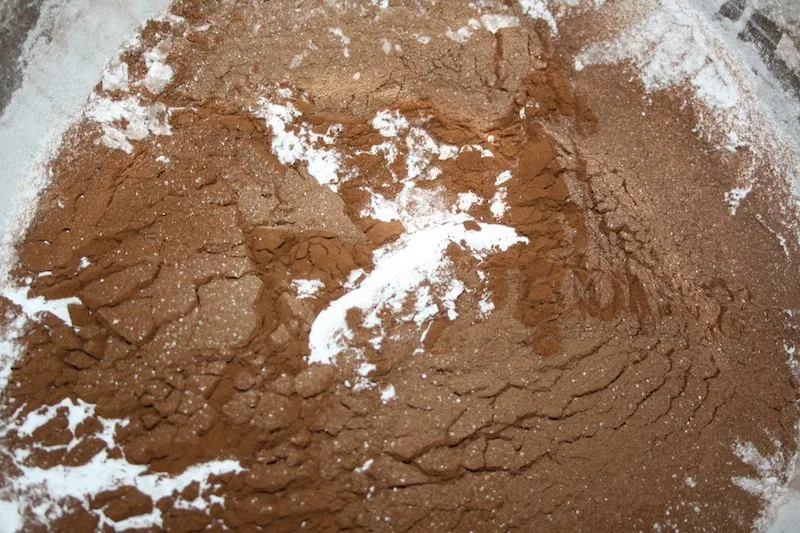
  2. Mix together all dry ingredients (flour, baking powder, sugar, and salt) in a stand mixer with a paddle until fully combined.
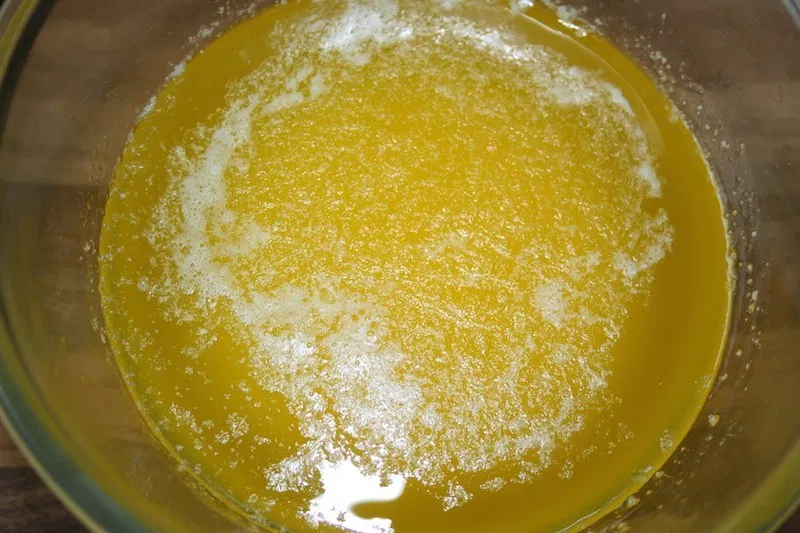
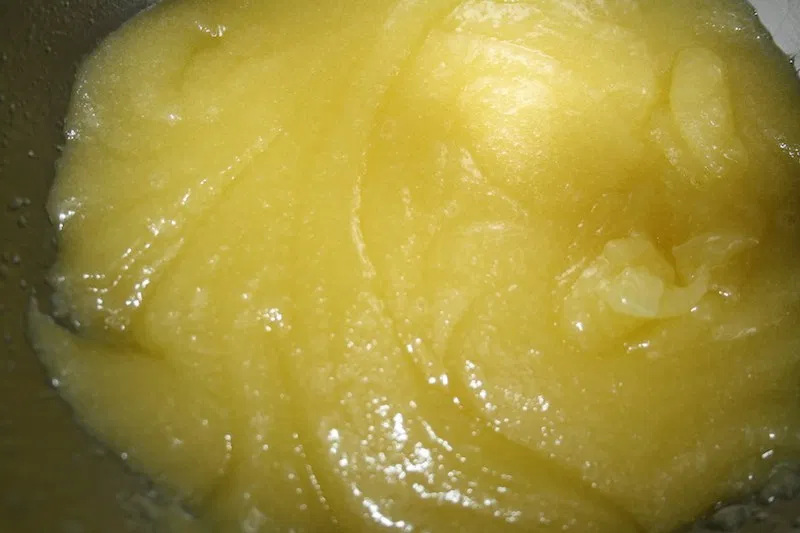
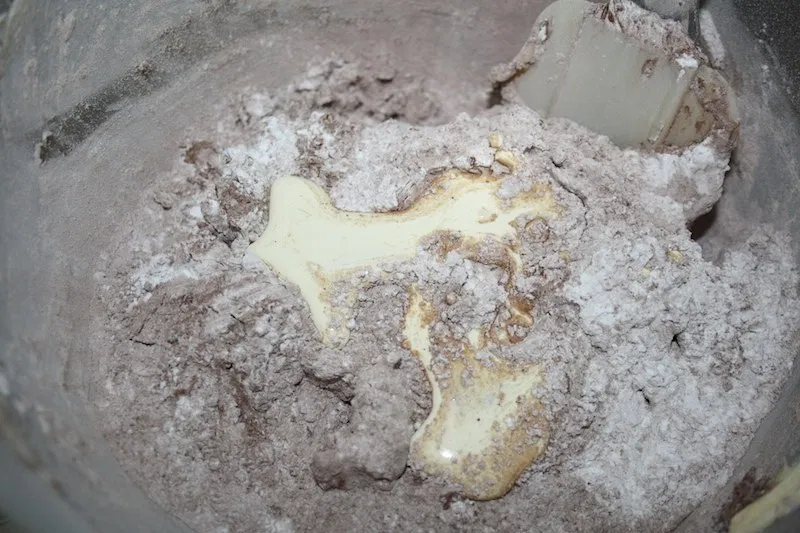
  3. Beat the room-temperature butter slowly into the dry mix, on a low speed. Mix until there are no longer any large chunks of butter remaining and the mixture becomes crumbly.
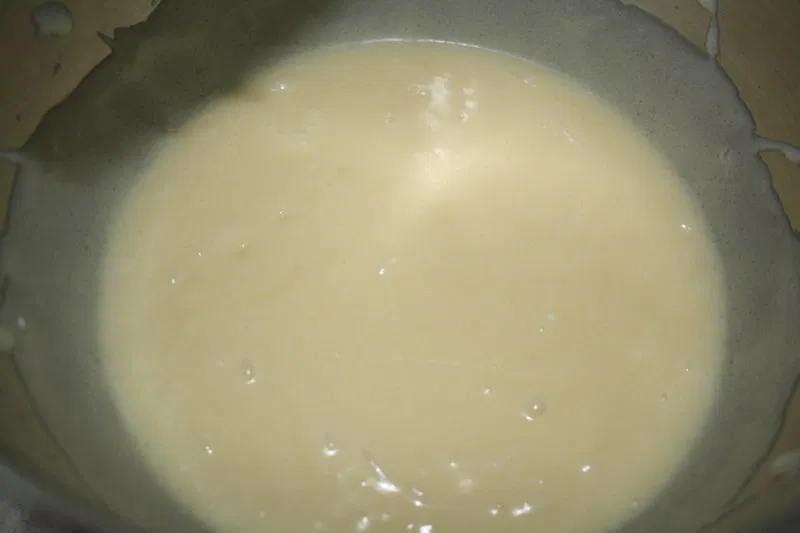
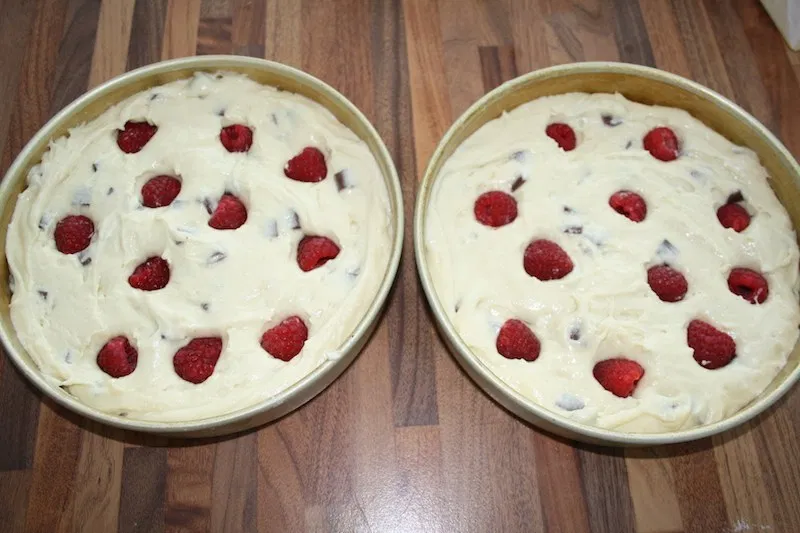
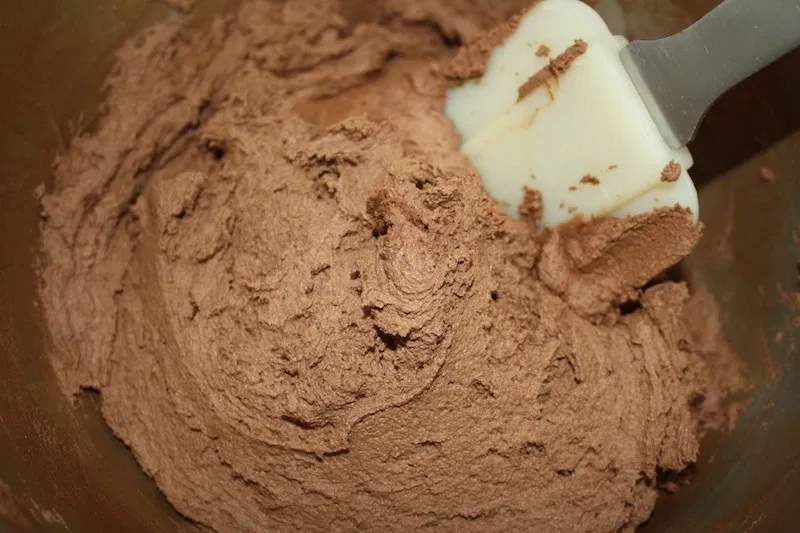
  4. Pour in egg whites, and buttermilk on a low speed. Add in vanilla and oil, and mix until fully incorporated. Scrape down the sides of the bowl with a spatula, then beat on medium speed for about a minute. 

Divide batter evenly between the prepared cake pans. If you like you can use a digital kitchen scale to weigh and ensure they all have the same amount of batter. This will guarantee all your layers will be the same height.
  5. Bake for 35-38 minutes or until a skewer comes out clean. Allow cakes to cool for 10 minutes, then release from the pans and cool on a wire rack.
  6. To make the buttercream beat the butter on a medium speed for 30 seconds with a paddle attachment, until smooth. Slowly add in the icing sugar and milk.
  7. Once fully mixed, add in the vanilla and beat on low until the ingredients are fully incorporated, and the desired consistency is reached.
  8. To decorate place the 1st cake layer on your cake stand, cake board or serving plate. Spread 2-3 tablespoons of buttercream evenly on top.
  9. Top with 2nd cake layer and evenly cover the top with another 2-3 tablespoons of buttercream.
  10. Top with the third cake layer. Spread the remaining buttercream on top and all around the sides using an Pallet knife. Use a cake scraper to smooth out the frosting on the sides of the cake.
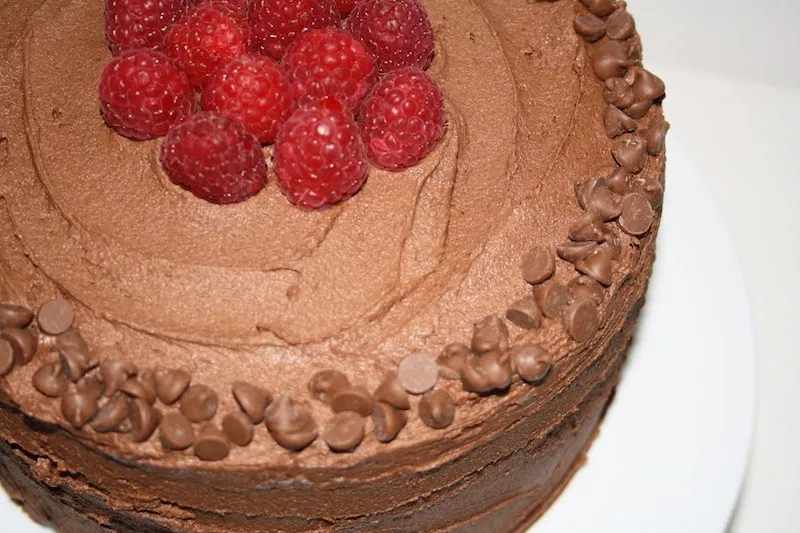
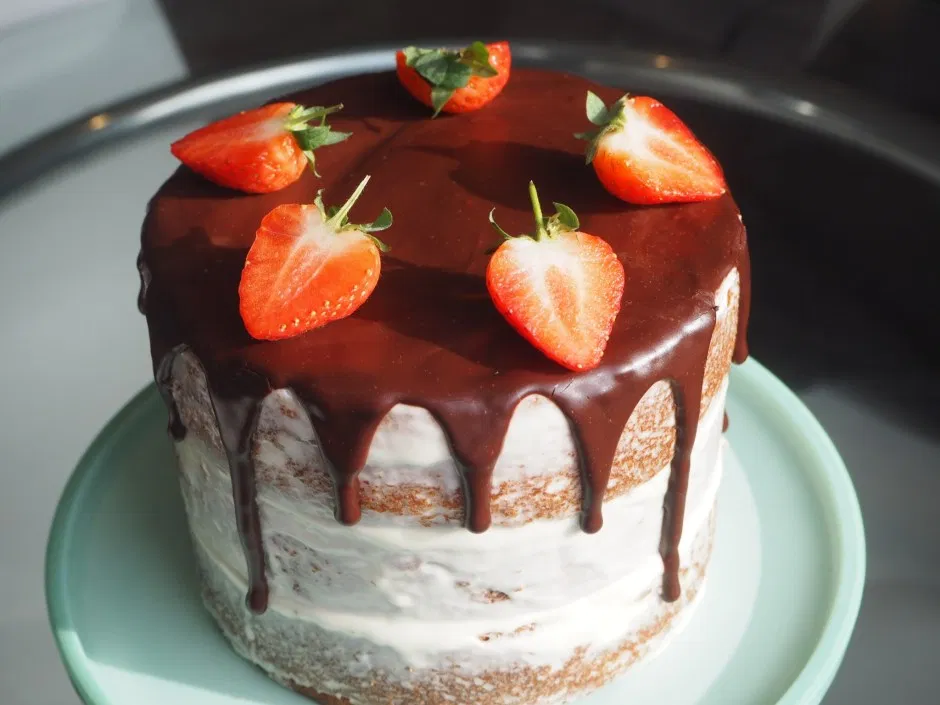
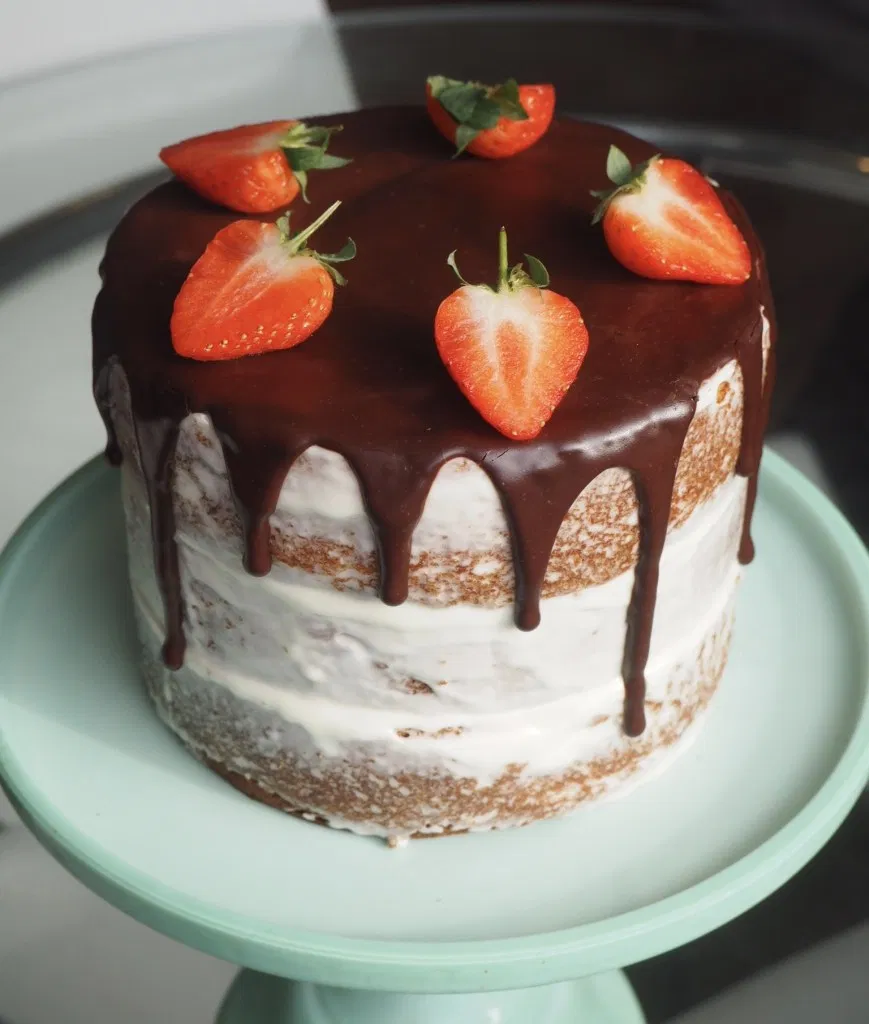
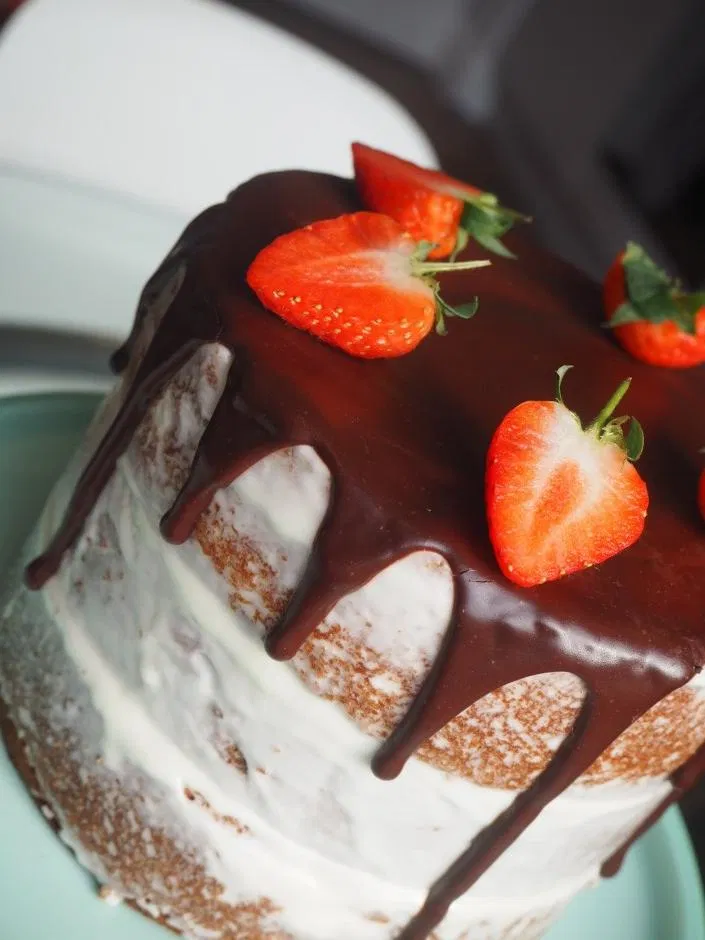
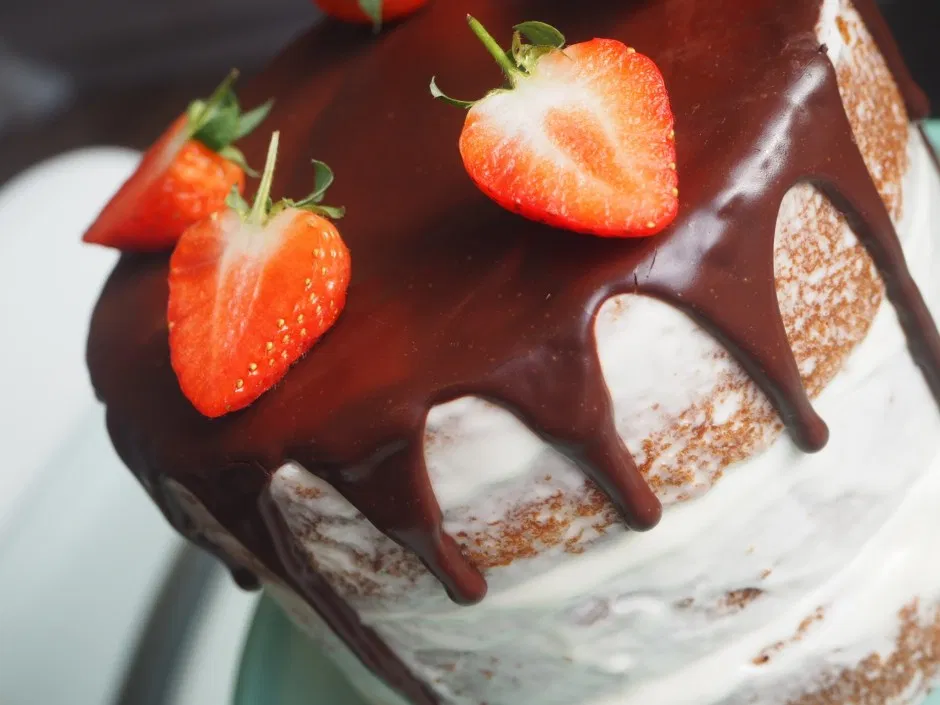
  11. To make the chocolate ganache drip put the dark chocolate in a bowl and heat the cream in the microwave for a minute. Pour the cream over the chocolate and leave to melt for 5 mins. Stir to make a glossy ganache, then set aside to firm up a little – you want the ganache to be pourable but not too runny. Using a spoon slowly drip the ganache down the sides of the cake.
  12. Top off with strawberries or any other decoration.
  13. Refrigerate the cake for 2-3 hours or up to 1 day before slicing and serving.
beta
calories
1008
fat
45g
protein
10g
carbs
145g
more
Forever Baking . . . http://www.foreverbaking.co.uk/

Doves Farm kindly asked me to create and bake a celebration cake in which I was given some Doves Farm products and a £10 gift voucher in order to do so.

Summer Strawberry and Cream Layer Cake

Posted on June 22, 2017 in Cakes


This summer showstopper is the perfect centrepiece for your barbecue, picnic or garden party. It’s refreshing, full of strawberry deliciousness, and has the perfect balance of sweetness.  This tall layer cake is made with layers of vanilla sponge cake,  whipped cream, meringue kisses, shortbread biscuits, white chocolate and fresh ripe strawberries.

Summer is one of my favorite times of year. There are fresh berries galore. This stunning Summer Strawberry layer cake recipe is the perfect way to celebrate seasonal berries. There is nothing more delicious than a freshly picked, sun-warmed strawberry. The buttery cake soaks up the strawberry juices, while the whipped cream adds an airy richness.

Strawberries and cream are, quite simply, a match made in heaven. The crisp yet gooey meringue strawberry kisses are not only gorgeous to look at but also sumptuous to eat.

The beautiful striped effect is achieved by painting stripes of gel food colouring down the inside of a piping bag before you fill it with the meringue mixture. I used this Americolor red colouring but you can go for any colour you like.

The cake is also topped with buttery shortbread biscuits and white mini chocolate bars, which are made with another fantastic mould by Silikomart.

One of my favorite looks for a cake is the naked look. I love being able to see the pretty layers and it’s even easier to put together, as you don’t have to worry about icing it.

This is a great cake for sharing with friends and family. It makes a statement of it’s own and is a light treat that’s perfect for the warm weather.

Summer Strawberry Layer Cake
Serves 20
This Summer cake has a combination of all my favourite summer ingredients: strawberries, Victoria sponge, meringues, fresh cream, white chocolate and buttery shortbread.
Write a review
Save Recipe
Print
Prep Time
1 hr 30 min
Cook Time
30 min
Total Time
2 hr
Prep Time
1 hr 30 min
Cook Time
30 min
Total Time
2 hr
540 calories
59 g
143 g
32 g
6 g
20 g
198 g
156 g
36 g
1 g
10 g
Nutrition Facts
Serving Size
198g
Servings
20
Amount Per Serving
Calories 540
Calories from Fat 281
% Daily Value *
Total Fat 32g
49%
Saturated Fat 20g
98%
Trans Fat 1g
Polyunsaturated Fat 1g
Monounsaturated Fat 9g
Cholesterol 143mg
48%
Sodium 156mg
7%
Total Carbohydrates 59g
20%
Dietary Fiber 2g
7%
Sugars 36g
Protein 6g
Vitamin A
21%
Vitamin C
52%
Calcium
6%
Iron
5%
* Percent Daily Values are based on a 2,000 calorie diet. Your Daily Values may be higher or lower depending on your calorie needs.
For the Cake
  1. 300g salted butter
  2. , at room temperature
  3. 300g golden caster sugar
  4. 1 tbsp vanilla bean paste (or the seeds from 2 vanilla pods with 2 tsp vanilla extract)
  5. 6 medium eggs, lightly beaten
  6. 300g self-raising flour
For the Meringue Kisses
  1. 75g icing sugar
  2. 75g white caster sugar
  3. 2 tsp strawberry jam
  4. red food colouring gel
  5. 3 medium egg whites, at room temperature
For the Shortbread biscuits
  1. 150g Plain Flour
  2. 100g Butter
  3. 50g Sugar
To decorate the cake
  1. 900ml double cream
  2. 1 heaped tbsp icing sugar
  3. 2 tsp vanilla bean paste
  4. 300g good-quality or homemade strawberry jam (see tip)
  5. 1kg strawberries, chopped into even slices for neat layers (save 8 to decorate)
Instructions
  1. Heat oven to 180C/160C fan. Grease and line two 23cm tins with baking parchment. Beat the butter, sugar and vanilla in a tabletop mixer until the mixture is very light, pale and fluffy.
  2. Gradually mix in the beaten eggs, scraping down the side of the bowl after each addition, until fully combined. If using a mixer, on slow, add the flour until just combined - don't over-beat as it can make the sponge heavy. If you're not using a mixer, fold in the flour with a large metal spoon.
  3. Divide the mixture between the tins and bake in the oven for 30 mins or until the cakes come away from the side and the skewer inserted into the centre comes out clean. Remove and cool in the tin for 5 mins. Turn out onto a wire rack and remove the parchment to allow the steam to escape and the cakes to cool.
  4. Meanwhile, make the decorations.
  5. For the meringue kisses, line two large baking sheets with baking parchment. In a small bowl, mix both sugars together. In another small bowl, mix the jam with enough food colouring to create a vibrant red colour.
  6. In a clean, grease-free bowl, whisk the egg whites until they form stiff peaks, using electric beaters or a tabletop mixer. Add about a third of the sugar, whipping for 1 min or so, until stiff and glossy. Gradually add the remaining sugar until you have a glossy meringue that holds stiff peaks.
  7. Heat oven to 120C/100C fan. Turn your pastry bag inside out and, using a spoon, paint three lines of coloured jam from the top to almost the end of the bag. Fill with the meringue mix and twist the end to close.
  8. Holding the bag vertically over the tray, apply enough pressure to create a base, then quickly draw the bag upwards to create little points. The jam will give the meringues a stripy pattern as they pass through the bag.
  9. Bake in the oven for 1 hr or until the meringues sound hollow when you lift one and tap the base - they should have a crunchy shell and not be too chewy. Leave to cool in the oven with the door closed, then store in a plastic food bag or airtight container until ready to use.
  10. To make the shortbread biscuits, preheat oven to 150 degrees celcius.
  11. Put butter, flour and sugar in the mixing bowl.Mix together with wooden spoon and hands so that the mixture looks like breadcrumbs. Then use hands to squeeze mixure together so that the mixture looks like a dough.
  12. Roll out the dough with a rolling pin on a lightly floured surface.Cut out the shapes using your chosen cutter. Place on a baking tray and leave in oven for 20 minutes or until they turn golden brown.
  13. Now assemble your cake. Before you split the sponges, trim the domed tops off each cake with a bread knife. Use the same knife or a cake wire, to split each sponge horizontally, so you're left with four sponge layers. A good tip is to cut a marker line on each sponge using a bread knife, so that once you've cut the sponges and filled them, you can use the line to put them back together in the right place. That way, if your cutting was a little wonky, it won't make the cake uneven.
  14. Whip the double cream with the icing sugar and vanilla until light and fluffy, and just holding shape. Put the bottom layer on a cake stand or board. Spread with a thin layer of jam, then spread or pipe on a good layer of cream. Arrange an even layer of strawberries neatly round the edge, then dot the middle of the sponge with more fruit. Repeat with two more of the cake layers.
  15. For the top layer, add the sponge and jam, but neatly pipe the cream over. Gently press on the strawberries, a few meringues and some of the chocolate bark.
  16. Arrange the chocolate-coated strawberries on top of the creamy sponge, then nestle in shards of bark, meringues and biscuit. Finish with a sprinkling of crushed meringue. Serve and eat within a few hours.
Adapted from The BBC Food
beta
calories
540
fat
32g
protein
6g
carbs
59g
more
Adapted from The BBC Food
Forever Baking . . . http://www.foreverbaking.co.uk/
This recipe is adapted from BBC Good Food 

SaveSave

SaveSave

SaveSave

Chocolate and Custard Drip Cake

Posted on January 24, 2017 in Cakes

Have you tried the latest cake craze yet? I can’t get enough of the colorful buttercream cakes with chocolate dripping down the sides- as you can probably notice from my Instagram. A drip cake is so versatile, fun and  tempting that it’s easy to see why everyone loves them.

There are classic chocolate drips to neon, those left rustic, natural, and beautiful to those covered in sprinkles, donuts, sweets etc.  Whichever style you choose, make sure your chocolate ganache isn’t too runny as it slides right off the sides and pools at the bottom of the cake stand.  Too thick, and you are trying to force your drips to look natural and not like blobs left on the side of your cake. 


Make sure your cake is thoroughly chilled before applying your drippy ganache and make sure you work with confidence! Use a spoon to first add a few drips over the top edge of the cake. Next, pour more ganache on the top of the cake, pushing it just to the edge with a small offset spatula.

A couple of tips when creating your drip cake:

Pick your palette.  For my cake I chose to stick with colors, textures, and chocolate related to the flavors and colors already occurring in my cake – chocolate and custard.

Add some height! One of the signature elements of this style of cake is a tall element backing the rest of the design.  Some use chocolate shards or chocolate “sails” or even just some buttercream swirls.

Chocolate and Custard Drip Cakes
Serves 10
With its retro flavour combination, bold drippy icing and gold chocolates, this showstopping layered cake ticks all the trend boxes.
Write a review
Save Recipe
Print
Prep Time
30 min
Cook Time
1 hr 30 min
Total Time
2 hr
Prep Time
30 min
Cook Time
1 hr 30 min
Total Time
2 hr
1462 calories
207 g
265 g
69 g
16 g
33 g
407 g
900 g
155 g
2 g
31 g
Nutrition Facts
Serving Size
407g
Servings
10
Amount Per Serving
Calories 1462
Calories from Fat 607
% Daily Value *
Total Fat 69g
106%
Saturated Fat 33g
164%
Trans Fat 2g
Polyunsaturated Fat 7g
Monounsaturated Fat 24g
Cholesterol 265mg
88%
Sodium 900mg
38%
Total Carbohydrates 207g
69%
Dietary Fiber 5g
20%
Sugars 155g
Protein 16g
Vitamin A
30%
Vitamin C
1%
Calcium
24%
Iron
29%
* Percent Daily Values are based on a 2,000 calorie diet. Your Daily Values may be higher or lower depending on your calorie needs.
Ingredients
  1. Chocolate Cake
  2. 100 g Vegetable Oil
  3. 340 g All-purpose flour
  4. 60 g Unsweetened Cocoa powder
  5. 2 tsp Baking powder
  6. 1 tsp Baking soda
  7. 400 g white sugar
  8. 8 Large eggs
  9. 280 g Buttermilk
  10. 280 g Hot Coffee
  11. 1 tsp vanilla extract
  12. 1 tsp salt
  13. Buttercream
  14. 450g soft butter
  15. 900g icing sugar
  16. 4 tablespoons milk
  17. food colouring
  18. custard flavouring
  19. Chocolate Ganache
  20. 100g dark chocolate chips
  21. 140ml double cream
  22. chocolates
  23. sprinkles
Instructions
  1. Preheat oven to 175°C. Grease and flour 3 cake pan of 6 inches diameter.
  2. Whisk buttermilk, oil, eggs and vanilla until smooth. Set aside. In the bowl of a stand mixer fitted with the flat beater, mix the flour, cocoa, sugar, baking powder, baking soda and salt on low speed for 30 seconds.
  3. Pour buttermilk and egg mixture over dry ingredients starting from low speed and increasing slowly. Add hot boiling coffee and beat 1 or 2 minutes maximum or until you see no lumps. Scrape down the sides of the bowl. You can do this manually too using a whisk. Pour mix evenly into cake pans and bake over a baking tray 35-40 minutes or until a toothpick inserted comes out clean.
  4. Cool the cakes in their pans on a wire rack for 20 minutes. Place a wire rack on top of the cake pan and invert, lifting off the pan. Let cool at room temperature.
  5. To make your buttercream place the soft butter in a free-standing mixer and beat for 6 minutes until pale. slowly add in the icing sugar a bit at a time alternating with the milk. Beat again for 10 minutes. Add in the flavouring and colouring and beat again until combined.
  6. Place the first chocolate cake onto a cake board or cake stand. Using a pallet knife spread a thin layer of the custard flavoured buttercream over the cake. Then top with the next chocolate cake. Repeat until you have used all cakes.
  7. Use a small amount of buttercream to give the cake a crumb coat. Place the cake in the fridge for 30 minutes. Using the remaining buttercream cover your cake. Smooth the side’s and top with a cake smoother.
  8. To make the chocolate ganache break the chocolate and place into a bowl.Heat the double cream in a heatproof jug in the microwave for 1 minute.Pour the hot double cream over the chocolate and leave for a couple minutes.Then begin to stir until all the chocolate has melted.
  9. Once smooth pour over the cake and allow it to fall down the sides of the cake. Decorate with sprinkles and chocolates.
Notes
  1. Crumb Coat- A crumb coat is a thin layer of frosting that's spread over the cake first. If you've ever simply tried to frost a cake with just one thick layer of frosting, you know all too well that little stray crumbs usually get caught in it. A crumb coat prevents that. Think of it as a base coat; it latches onto these crumbs so that the second, thicker coat won't. Whether it's a tall birthday cake or a simple single-layer cake, a crumb coat is helpful when your goal is a perfectly frosted creation.
beta
calories
1462
fat
69g
protein
16g
carbs
207g
more
Forever Baking . . . http://www.foreverbaking.co.uk/

Coffee and Walnut Cake

Posted on February 23, 2015 in Cakes

Who doesn’t love a slice of coffee and walnut cake with a cup of tea or coffee. Coffee and walnut cake is one of those flavours that’s seriously underrated and usually forgotten but this traditional cake never fails to please; its bitter-sweet flavours make it one of my all-time favourites. This classic coffee and walnut cake is topped with an easy espresso-infused buttercream icing.

Ingredients for the sponge:

50g walnut pieces

225g caster sugar

225g soft unsalted butter

200g plain flour

4 tsp instant espresso powder

2 ½ tsp baking powder

½ tsp bicarbonate of soda

4 eggs

1-2 x 15ml tbl milk

Ingredients for the butter cream frosting:

350g icing sugar

175g soft unsalted butter

2 ½ tsps instant espresso powder dissolved in 15ml boiling water

25g walnut halves to decorate


Preheat the oven to 180 degrees. Butter the two sandwich tins and line with baking parchment.  Place the sugar and walnut pieces into the food processor and mix until it becomes a fine powder.

Add the butter, flour, espresso powder, baking powder, bicarbonate of soda and eggs and beat to a smooth paste.  Add the milk by pouring slowly with the motor running. This should loosen the mixture.

Divide the mixture between the two sandwich tins and bake in the oven for 25 minutes until the sponge has risen and the tops feel springy.

Cool the cakes in their tins for approximately five minutes then remove to a wire rack.  Gently peel off the baking parchment.

Whilst the cakes are cooling you can begin to make the butter cream. Place the icing sugar and butter in the food processor and wiz until smooth.

Dissolve the espresso powder in the boiling water and add to the icing mixture while still hot and blend.

Place one half of the cake onto a plate, spread half of the icing mixture on top and spread evenly.  Place the other cake on top and place the rest of the butter cream on top.  Decorate with walnut halves.

Chocolate Oreo Layer Cake

Posted on September 30, 2014 in Cakes

Hello Oreo lovers! Do I have your attention? I hope so, because I’m pretty sure this cake is for you.

This really is the ultimate cake for an Oreo or chocolate lover. It’s super indulgent and looks pretty impressive. Your favourite cookie transformed into a delicious layer cake!

This delightful celebration layer cake has a super moist chocolate and vanilla sponge. The cake is layered with smooth cream cheese icing, which adds to the sweetness of the cake. Its finished with a good amount of chocolate ganache drizzle, which makes it a perfectly balanced cake. Perfect to share with your loved ones.

The sweet cream cheese buttercream is light and smooth, you’ll be eating it off the spoon, I guarantee it!

This Oreo cake did not disappoint. If you have an Oreo lover in your life, or if you are one yourself, this Oreo cake is one you’ll want to add to your list! 


Oreo Layer Cake
Serves 12
This really is the ultimate cake for an Oreo or chocolate lover. It's super indulgent and looks pretty impressive. Your favourite cookie transformed into a delicious layer cake!
Write a review
Save Recipe
Print
Prep Time
40 min
Cook Time
45 min
Total Time
1 hr 25 min
Prep Time
40 min
Cook Time
45 min
Total Time
1 hr 25 min
857 calories
98 g
152 g
50 g
10 g
26 g
239 g
516 g
66 g
0 g
20 g
Nutrition Facts
Serving Size
239g
Servings
12
Amount Per Serving
Calories 857
Calories from Fat 438
% Daily Value *
Total Fat 50g
76%
Saturated Fat 26g
130%
Trans Fat 0g
Polyunsaturated Fat 3g
Monounsaturated Fat 17g
Cholesterol 152mg
51%
Sodium 516mg
22%
Total Carbohydrates 98g
33%
Dietary Fiber 4g
15%
Sugars 66g
Protein 10g
Vitamin A
23%
Vitamin C
1%
Calcium
15%
Iron
23%
* Percent Daily Values are based on a 2,000 calorie diet. Your Daily Values may be higher or lower depending on your calorie needs.
Ingredients for the Chocolate Cake
  1. 100g plain flour
  2. 40g cocoa
  3. 200g granulated sugar
  4. 1 teaspoon baking soda
  5. 1/2 teaspoon baking powder
  6. 1/2 teaspoon salt
  7. 1 egg
  8. 60ml buttermilk
  9. 60ml vegetable oil
  10. 1 teaspoons vanilla extract
  11. 60ml hot water
  12. 10 quartered Oreos
For the Vanilla Cake
  1. 180g plain flour
  2. 200g granulated sugar
  3. 2 teaspoons baking powder
  4. 1/2 teaspoon salt
  5. 110g butter, chopped into 1″ cubes
  6. 2 eggs
  7. 120ml milk
  8. 1/2 teaspoon vanilla extract
  9. 10 quartered Oreos
For the Oreo Filling
  1. 230g softened cream cheese
  2. 1 teaspoon vanilla
  3. 200g icing sugar
  4. 480g double cream
Garnish
  1. Halved Oreos
  2. Chocolate ganache
  3. Star piping tip
Chocolate Ganache
  1. 1 tablespoon butter
  2. 160ml double cream
  3. 225g dark chocolate chips/dark chocolate broken into small pieces
Instructions
  1. Preheat oven to 180C and grease and line two 8" cake pans.
Chocolate cake
  1. In a stand or electric mixer, fitted with the paddle attachment, combine the flour, sugar, cocoa, baking soda, baking powder, salt and mix until combined.
  2. Add the two eggs and mix.
  3. While the mixer is beating, slowly add the buttermilk, oil and vanilla.
  4. Then add the hot water slowly.
  5. Once the batter is combined, add quartered Oreo’s and gently stir using a wooed spoon or spatula until the Oreos are evenly dispersed.
  6. Pour the batter into the prepared cake pan and bake for 40-45 minutes or until a toothpick inserted comes out clean. Allow to sit on a wire rack before removing from pan and allow to cool completely.
Vanilla cake
  1. In a stand or electric mixer, fitted with the paddle attachment, combine flour, sugar, baking powder and salt and mix until combined.
  2. While mixer is turning, add the cubes of butter one at a time and mix until the butter has broken up into tiny pieces and the mixture resembles sand.
  3. Add eggs and continue to mix.
  4. While mixer is turning, slowly add milk and vanilla.
  5. Mix until batter is smooth. Once batter is combined, add quartered Oreo’s and stir a couple of times, being careful not to break up the Oreo’s.
  6. Pour batter into prepared cake pan and bake for 40-45 minutes or until a toothpick inserted comes out clean. Allow to sit on a wire rack before removing from pan and allow to cool completely.
  7. While cakes are cooling, prepare filling. In a stand or electric mixer, fitted with the whisk attachment, whisk the double cream until stiff peaks form.
  8. Set aside in the fridge. In a clean bowl switch to a paddle attachment and beat the cream cheese until soft.
  9. Add the icing sugar and vanilla and mix until smooth.
  10. Next add the whipped double cream to the cream cheese mixture, and mix until smooth.
  11. Ensure that both cake layers are even and level by trimming the tops if they are domed. Place the chocolate cake on a cake board and smooth about 100g of filling onto it in an even layer.
  12. Next place the vanilla cake layer on top and repeat with another thin layer of filling (crumb coat).
  13. At this point, I place the cake in the freezer for about 20-30 minutes, which helps to set the icing. Then once removed from the freezer apply a second coat to the cake with the filling. Place remaining filling into a piping bag fitted with a large open star tip and place in the fridge for later.
  14. Chop up about 10 oreos or more if needed and place around the bottom of the cake.
  15. To prepare the chocolate ganache heat the double cream in the microwave for about 1 minute. Then while the cream is still hot add the butter and chocolate chips or chopped dark chocolate and leave for another minute.
  16. Then start to stir the cream with the chocolate. It may look like the cream and chocolate has split but keep going until you have a thick dark ganache.
  17. Using a spoon pour the chocolate ganache onto the edge of cake, a small amount at a time.
  18. Pipe large open stars in a circle. Place a half Oreo between every star.
beta
calories
857
fat
50g
protein
10g
carbs
98g
more
Forever Baking . . . http://www.foreverbaking.co.uk/


Chocolate Chip Raspberry Layer Cake

Posted on May 9, 2014 in Cakes

IMG_7257

This super moist chocolate chip layer cake infused with fresh juicy raspberries is just perfect for afternoon tea this spring. The buttermilk gives the cake a lovely creamy and moist texture.

Ingredients:

405g plain flour
1 teaspoon baking powder
1/2 teaspoon baking soda
3/4 teaspoon salt
230g unsalted butter, melted
350g granulated sugar
2 large eggs, room temperature
480ml buttermilk
2 teaspoons vanilla extract
150g raspberries
135g milk chocolate chips


Milk Chcolate Frosting Ingredients:
230g unsalted butter, softened to room temperature
400g icing sugar
95g cocoa powder
4 tablespoons double cream
1 teaspoon vanilla extract
chocolate chips and raspberries for decoration, optional

Preheat oven to 180C degrees. Grease three 20cm round baking pans with butter. Set aside.

Sift the flour, baking powder, baking soda, and salt together into a large bowl. Set aside.

IMG_7234

Melt the butter in a microwave safe bowl.

IMG_7233

In a free standing mixer whisk the granulated sugar the the melted butter slowly adding the eggs, buttermilk, and vanilla extract.

IMG_7236

IMG_7237

IMG_7238

IMG_7239

Slowly add the dry ingredients into the wet ingredients and whisk until hardly any lumps remain. Try not to over mix the batter.

IMG_7241

Fold in the chocolate chips.

IMG_7242

Divide the batter evenly between the 3 prepared cake pans. Then place the raspberries and gently press them down into the batter. Doing this rather than folding them in with the chocolate chips avoids breaking the raspberries and making them bleed within the batter.

IMG_7243

IMG_7244

Bake for 22-25 minutes. You can loosely cover the cakes with foil halfway through cooking to prevent the tops from getting too brown. Cakes should be done when a toothpick is inserted in the centre comes out clean. Allow to cool in the pans then transfer to a wire rack.

IMG_7250

While the cakes are cooling, you can start to make the frosting. Cream the butter in a free standing mixer on medium speed for 5 minutes. Add the icing sugar and the coco powder to the creamed butter. Mix on a low speed.

IMG_7245

Add the double cream and vanilla extract.

IMG_7247

If the frosting is too thick add a little more double cream however if the frosting is too thin add some icing sugar until you obtain your desired consistency.

IMG_7249

Place the 1st layer on your cake stand or plate. Evenly cover the top with the chocolate frosting. Top with the 2nd layer, add more frosting, then the third layer. Cover the entire cake with the leftover frosting. Top with chocolate chips and raspberries.

IMG_7254

IMG_7262

IMG_7264

Back to top
Follow

Get every new post delivered to your Inbox

Join other followers:

%d bloggers like this: