Browsing Tag

icing

High Hat Chocolate Cupcakes

Posted on June 13, 2017 in

These high hat chocolate cupcakes are such beautiful cupcakes with their big swirls and chocolate coating.

I did it. I finally made them. Hi Hat Cupcakes have been on my do to list for a while but to be honest I’ve been too nervous to make them. 

There are three key components to hi-hat cupcakes:

1) Chocolate cupcakes

2) A stiff marshmallow frosting; and

3) A magic shell chocolate coating 

So first up, you have to make those chocolate chip cupcakes. I used my favourite chocolate cupcake recipe. Then comes the fun part – the marshmallow icing! It’s not nearly as intimidating as it sounds, trust me.

If  you like chocolate, marshmallow frosting and pretty things, you have to make these!

Chocolate High Hats
Serves 12
Chocolate cupcakes with a marshmallow frosting and dipped in a hard chocolate coating.
Write a review
Save Recipe
Print
Prep Time
20 min
Cook Time
20 min
Total Time
1 hr 30 min
Prep Time
20 min
Cook Time
20 min
Total Time
1 hr 30 min
399 calories
64 g
26 g
15 g
5 g
5 g
123 g
122 g
48 g
0 g
9 g
Nutrition Facts
Serving Size
123g
Servings
12
Amount Per Serving
Calories 399
Calories from Fat 133
% Daily Value *
Total Fat 15g
23%
Saturated Fat 5g
27%
Trans Fat 0g
Polyunsaturated Fat 2g
Monounsaturated Fat 7g
Cholesterol 26mg
9%
Sodium 122mg
5%
Total Carbohydrates 64g
21%
Dietary Fiber 1g
6%
Sugars 48g
Protein 5g
Vitamin A
1%
Vitamin C
0%
Calcium
6%
Iron
8%
* Percent Daily Values are based on a 2,000 calorie diet. Your Daily Values may be higher or lower depending on your calorie needs.
Cupcakes
  1. 75g chocolate chips
  2. 175g plain flour
  3. 30g cocoa powder
  4. 185g caster sugar
  5. ½ tsp bicarbonate of soda
  6. Pinch of Salt
  7. 2 small eggs
  8. 120ml cold coffee
  9. 120ml buttermilk
  10. 105ml vegetable oil
Marshmallow Meringue Icing
  1. 3 egg whites
  2. 260g caster sugar
  3. 7 tbs Golden Syrup (or corn syrup)
  4. ¼ tsp cream of Tartar
  5. 1 teaspoon vanilla
  6. Pinch of salt
  7. 2 tbs water
  8. Chocolate Coating
  9. 375g of dark choc
  10. 3 tbs veg or coconut oil
Instructions
  1. Preheat the oven to 160 degrees C. Line a cupcake tin with paper liners.
  2. In a medium bowl combine the flour, sugar, cocoa powder, bicarbonate of soda and salt and mix to combine. In a separate bowl combine the wet ingredients, eggs, cold coffee, buttermilk and vegetable oil and give it a whisk. Add the dry ingredients to the wet and whisk until all combined
  3. and is smooth. The batter should be pourable, but not super thin.
  4. Pour the batter among the cupcake liners. Transfer to the oven and bake for 12-15 minutes, until the tops are just set and no longer wiggly in the center. Remove and let cool completely.
  5. While the cakes are baking we can make the marshmallow meringue icing. Put the sugar, cream of Tartar, salt, water, vanilla, eggs whites and golden syrup into a heat-proof bowl. Then place the bowl on top of a pan of boiling water. Take your electric whisk out and whisk the mixture until you reach the stiff peak stage. Remove the bowl from the heat and set aside. Once your cakes are cook and have cooled take a piping bag and fill with the marshmallow icing. Pipe a high swirl of icing on top of each cupcake. ( Hold the piping bag vertically to give you an even swirl.) Place the iced cupcakes into the fridge for 15-20mins. This will help set the icing when dipping them in melted chocolate.
  6. To make the chocolate coating, put the chocolate and coconut oil in a heat proof bowl over a pan of boiling water and allow tot melt. Put the melted chocolate in a mug or tall glass to allow enough depth to dip the cupcakes. Take a cupcakes one at a time and dip them into the melted chocolate. allow the excess chocolate to drip off before returning to the fridge.
beta
calories
399
fat
15g
protein
5g
carbs
64g
more
Forever Baking . . . http://www.foreverbaking.co.uk/

Fondant Cupcakes

Posted on September 24, 2016 in

Fondant icing is a flexible icing with dough like consistency, which turns your cake into an absolute stunner. For similar reasons that cakes are often covered in fondant the same can be done to cupcakes to add a clean and elegant look to these miniature confections.

Fondant is so mysterious. Its beautifully smooth appearance makes for gorgeous decorative techniques for both cakes and cupcakes. You can use your artistic instinct to sculpt out a gorgeous, embellished cupcakes with fondant icing. 

Fondant is a thick sugar paste, generally used as a decorative topping for cakes, cupcakes, and other desserts. Fondant can be bought ready-to-use or made from scratch, and is rolled out, cut, and shaped. Usually the fondant is fixed to the cupcakes or cakes with a simple buttercream icing. 

Make your vanilla cupcake batter and fill the the Tala Cupcake cases 1/3 full. Bake and cool before you start to decorate.

To decorate your cupcakes dust your work table with powdered sugar to ensure the fondant does not stick to it. Place your fondant on the table and use Tala’s rolling pin to roll it out. Using the3″ round circle cutter from the Tala tin cutter range, punch out a circle from the fondant.

A 3″ circle is usually the perfect size to cover a regular-sized cupcake, but it can differ if your cupcakes were made fuller or you added quite a bit of icing. If this is the case, use a larger size cutter to ensure there is enough surface space to cover the entire cupcake. On the other hand, if your cupcake is smaller, use a smaller size and note that less fondant will drape and your surface will be practically flat.

Place the round fondant in the palm of your hand. Begin to press the fondant to the icing of the cupcake to adhere it.

Use your fingers, smooth out the fondant around the entire surface of the cupcake. Ensure the fondant covers the perimeter of the cupcake evenly.

Proceed with decorating your cupcakes with additional embellishments, patterns and floral accents. To do this you can use Tala crimpers,  Tala’s Fondant Embossing Set aswell as Tala’s modelling tool set to create some pretty roses. 

Crimping technique is a very well known art of cake decorating. Crimping technique is used on fondant and involves the use of special Tala crimper tools. The crimpers look like small thongs with patterned edges. They are used to imprint puffed up patterns on cakes.

To use a Tala crimper, you will first need to adjust the rubber band on the tool so that it is at the correct width. 

Next, with the ‘arms’ of the crimpers still open, insert it halfway through into your fondant. It is very important to remember at this point in time to not insert the tool all the way to the bottom of your fondant because when you pinch your fondant, you will tear the fondant and your cupcake underneath the fondant will then become visible, spoiling your entire cake decoration. 

Once you have inserted the crimper halfway into the fondant, gently press the ‘arms’ of the crimpers together. This will give you a pretty puffed pattern on the fondant.

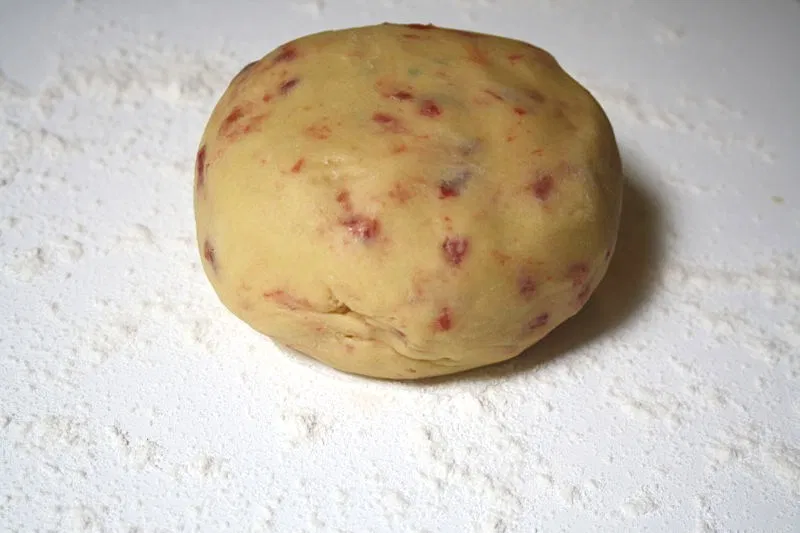
To make the fondant roses place a few drops of gel food colouring or use a toothpick and take out a single amount of gel paste on your fondant and work it in. Knead really well until all the colouring is distributed evenly. It does take a while so be patient.

Keep adding colouring until you have your desired colour. You want each piece to have the size of a marble.

Break off 4 or 5 small pieces of fondant and roll them into tiny balls or cut out using a petal cutter. These will be the petals of the rose. Break off 1 more small piece, roll it into a longer shape, just twice the length, so it looks a little like a cone shape.

Now use your thumb and smooth each of these shapes, until they’re quite thin. Use  the ball tool from the Tala tool set, gently glide around the edges of the circle to thin them.

Take your cone shape and gently add the first petal. The second petal goes half way inside the first one, roll it around. The third one goes half way the second one, and roll it around again.

Until you have them all evenly spaced around. Now shape the petals, pull them back a little bit, giving them little pinches here and there on the edges to make them look more natural.

The bottom you can just cut off and there you have it. Place it on a board to let it dry. 

Fondant cupcakes
Serves 12
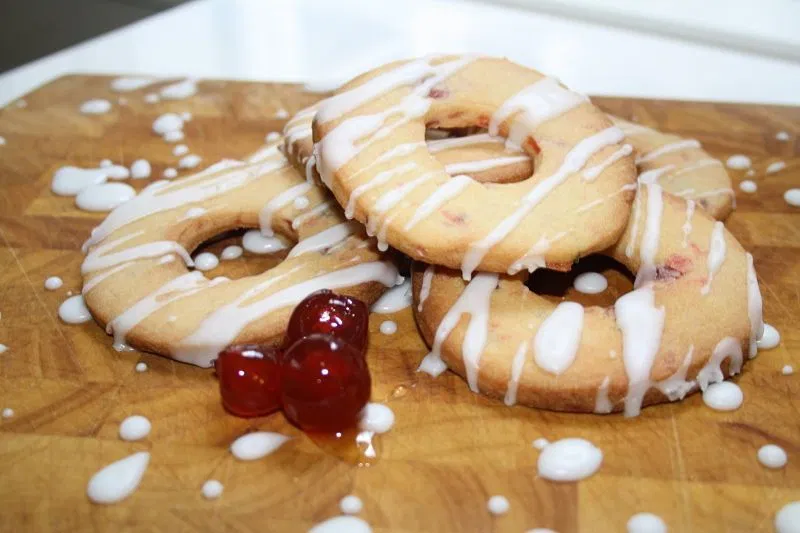
These Vanilla Bean Cupcakes decorated with fondant are not only pretty, they are delicious.
Write a review
Save Recipe
Print
Prep Time
40 min
Cook Time
20 min
Prep Time
40 min
Cook Time
20 min
383 calories
56 g
72 g
16 g
4 g
10 g
99 g
20 g
38 g
1 g
5 g
Nutrition Facts
Serving Size
99g
Servings
12
Amount Per Serving
Calories 383
Calories from Fat 145
% Daily Value *
Total Fat 16g
25%
Saturated Fat 10g
50%
Trans Fat 1g
Polyunsaturated Fat 1g
Monounsaturated Fat 4g
Cholesterol 72mg
24%
Sodium 20mg
1%
Total Carbohydrates 56g
19%
Dietary Fiber 1g
2%
Sugars 38g
Protein 4g
Vitamin A
11%
Vitamin C
0%
Calcium
3%
Iron
2%
* Percent Daily Values are based on a 2,000 calorie diet. Your Daily Values may be higher or lower depending on your calorie needs.
Ingredients
  1. 110g unsalted butter (at room temperature)
  2. 225g caster sugar
  3. 2 large eggs
  4. 150g self-raising flour, sifted
  5. 125g plain flour, sifted
  6. 120ml semi-skimmed milk (at room temperature)
  7. 1 teaspoon of good quality vanilla extract
  8. 115g unsalted butter, at room temperature
  9. 1 tsp pure vanilla extract
  10. 225g icing sugar
Instructions
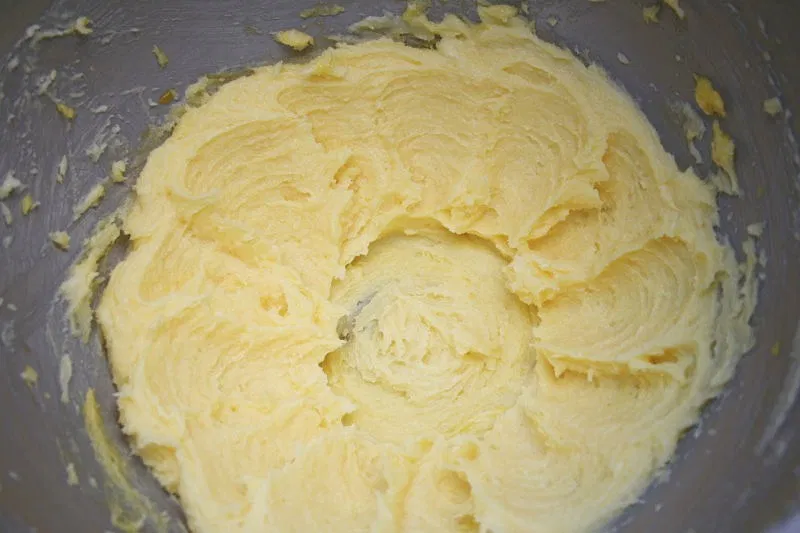
  1. Preheat the oven to 180°C and line a 12-hole cupcake tray with cupcake cases. In a freestanding mixer with a paddle attachment cream the butter and sugar until the mixture is pale and smooth, this should take about 3-5 minutes.
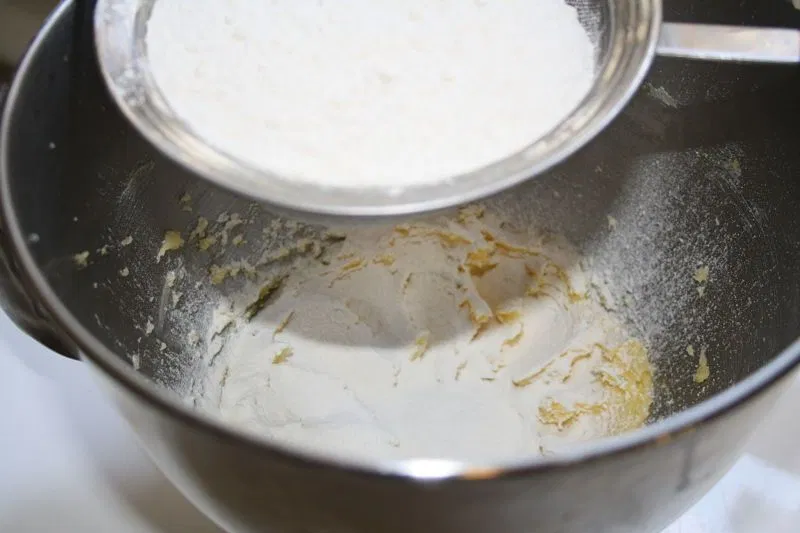
  2. Combine the two flours in a separate bowl.
  3. Put the milk, eggs and vanilla extract in a jug and gently whisk.
  4. Add one third of the combined flour to the butter creamed mixture and beat well, then pour in one third of the milk mixture and beat again. Repeat these steps until all the flour and milk have been added.
  5. Carefully spoon the mixture into the cupcake cases, filling them about two thirds full to allow the mixture to rise when cooking.
  6. Bake in the oven for about 20 minuets. Remove from the over and allow the cupcakes to cool in the tin for 10 minutes before you move to a wire rack to cool completely.
  7. While the cupcakes are cooling you can make your buttercream. Put the butter and the vanilla extract in a large mixing bowl and beat until smooth and blended.
  8. Sift over the icing sugar and, with the mixer on a low speed, continue mixing until the icing is smooth and has a spreading consistency. If it is too stiff, beat in a little milk.
  9. Once your cupcakes are completely cool you can start to ice your cupcakes.
  10. Use the spatula to ice a layer of buttercream over the cupcakes. Make sure to not spread them too thick, as they can spill out and over your cupcakes when covering them with fondant.
  11. Try to make the icing as smooth as possible to avoid any visible lumps later.
  12. Dust your work table with powdered sugar to ensure the fondant does not stick to it. Place your fondant on the table and use the fondant rolling pin to roll it out. Using the 3" round circle cutter, punch out a circle from the fondant
  13. A 3" circle is usually the perfect size to cover a regular-sized cupcake, but it can differ if your cupcakes were made fuller or you added quite a bit of icing. If this is the case, use a larger size cutter to ensure there is enough surface space to cover the entire cupcake. On the other hand, if your cupcake is smaller, use a smaller size and note that less fondant will drape and your surface will be practically flat.
  14. Place the round fondant in the palm of your hand. Begin to press the fondant to the icing of the cupcake to adhere it.
  15. Use your fingers, smooth out the fondant around the entire surface of the cupcake. Ensure the fondant covers the perimeter of the cupcake evenly.
  16. Proceed with decorating your cupcakes with additional embellishments, patterns and floral accents. To do this you can use Tala crimpers and Tala's Fondant Embossing Set.
beta
calories
383
fat
16g
protein
4g
carbs
56g
more
Forever Baking . . . http://www.foreverbaking.co.uk/

Bakewell Tarts

Posted on October 23, 2014 in Tarts

Perfect little homemade Cherry Bakewells that taste even better than the shop bought ones! Cherry bakewell tarts have to be one of my favourite teatime cakes. Buttery shortcrust pastry, lined with a cherry jam, filled of frangipane and topped with sweet icing and half of a cherry. Ideal for that afternoon snack enjoyed with a cup of tea or even for a children’s party.

Ingredients

For the pastry

100g butter chilled and cubed

200g plain flour sifted

40g icing sugar sifted

1 free-range egg, beaten

For the frangipane

55g butter or baking spread

55g caster sugar

1 free-range egg beaten

40g ground almonds

1 tbsp plain flour

For the topping and filling

85g icing sugar

water

glace cherries

Jam of your choice

Preparation method

Put the flour and cubed cold butter in a mixer fitted with a paddle attachment and mix until the mixture resembles bread crumbs.

Add the caster sugar and beaten egg and mix, until it starts to form a ball. you want it to be soft but not too sticky.

Wrap in cling film and chill for at least 30 minutes. Pre-heat the oven to 170C.

Grease a 12-hole muffin tin. Unwrap the pastry, sprinkle some flour onto a clean surface and roll out the pastry to a thickness of 3mm/⅛ in.

Use a round cutter to cut 12 circles that are slightly larger than the muffin tin so when you push the pastry in the greased muffin tray the round circles will form a cup shape.

Use a little left over dough to push the dough to the bottom on the muffin tray and to the edges. This will stop finger nails from taring the dough while pushing it into shape.


Next cut some circles of baking parchment paper and fill with baking beans or rice.

This will help the dough keep its shape while cooking it in the oven. Bake for 10minutes, then remove from the oven and carefully take the rice and baking paper off the tarts. Put the tarts back into the oven for another 5 minutes. Keep an eye on the pastry and make sure the edges don’t burn. Remove from the oven and allow to cool a little.

For the frangipane, place the butter, caster sugar in a bowl and beat with an electric mixer until smooth and looks pale.

Next add the ground almonds, flour and the beaten egg. Mix together until combined.

Take your pastry cases and place half a teaspoon of the jam into the bottom of each tart.

Top with the frangipane mixture and bake in the oven for about 25 minutes until the frangipane is risen and golden. Cool in the tin for a few minutes then transfer to a wire rack.

For the topping, mix the icing sugar with a little water to form a thick paste. Spread over the cooled tarts and top each with one half of a glace cherry. Yummy!

Cinnamon Swirl Buns

Posted on October 21, 2013 in Cakes

Cream cheese frosting, a cinnamon- flavoured filling and soft, fluffy, melt-in-the-mouth dough. I could honestly get through at least half a tray of these on my own. The bread dough is enriched with milk and butter. The filling of the dough is slathered in melted butter then covered in demerara sugar and ground cinnamon.

So why doesn’t anyone make cinnamon rolls? Because they’re complicated, difficult and time consuming. I’m not going to lie, this recipe is not the easiest or quickest but if you have some free time give it a go. Not only is it fun to do you will be so pleased with the results.

Ingredients for Buns:

450g strong white bread flour

7g fast-action yeast

10g sea salt

125ml full-fat milk

175ml tepid water

40g unsalted butter

1tbsp clear runny honey

12 hole muffin tin

Ingredients for filling:

100g unsalted butter, melted

100g demerara sugar

3tsp ground cinnamon

Ingredients for icing:

100g unsalted butter

200g icing sugar

1tsp ground cinnamon

100g full-fat cream cheese

Tip the flour into the bowl of a free standing mixer fitted with a dough hook; add the yeast and salt and make a well in the centre.

Heat the milk, water and butter in a small saucepan until lukewarm and the butter has melted. Add the honey and pour into the dry ingredients.

Mix together until you have a soft dough. Knead in the mixer for 6 minutes or by hand for 10 minutes, until the dough is smooth and elastic.

Shape the dough into a ball and put it into a large,oiled mixing bowl. Cover with cling film and leave in a warm place for 90 minutes or until doubled in size.

Turn out onto a lightly floured surface and knead for 30 seconds to knock back the dough. Roll into a large, neat, 1cm thick rectangle and brush liberally with the melted butter.

Mix together the demerera sugar and cinnamon and sprinkle over the dough.

With the longest side of the rectangle nearest to you, roll the dough away from you into a tight spiral. Brush the end with a little melted butter to seal.

Trim off the ends and slice into 9 equal portions.

Pop the muffins into the buttered muffin tin, cut side upmost, cover loosely with oiled cling film and leave to prove for 40 minutes or until doubled in size.

Preheat the oven to 200˚ C. Bake the buns on the middle shelf of the oven for 20-25minutes until well risen and golden brown.

Cool for 10-15 minutes in the tin and then turn them out onto a wire rack. Make the icing by whisking together the butter, icing sugar and cinnamon until light and fluffy.

Add the cream cheese but be careful not to over whip or the icing will split. Drizzle the icing over the buns and leave to set.

Frosted Cherry Rings

Posted on October 15, 2013 in Biscuits

IMG_6392_opt

These shortbread type biscuits are studded with candied cherries and drizzled with a sweet glaze, they did not disappoint! I was quite pleased at how the red from the cherries gave a marbled effect in the biscuit dough. The dough for these biscuits is rather dry and crumbly until you work it with your hands, it then comes together into workable dough. I have made these biscuits before using lemons however this time I wanted to try another citrus fruit so I went for limes. Both work very well in this recipe.

Ingredients:

120g unsalted butter, plus extra for greasing

80g golden caster sugar

1 egg yolk

finely grated zest of 1/2 a lemon or lime

200g plain flour

50g finely chopped glace cherries

Ingredients for Icing:

80g icing sugar, sifted

1 1/2 tbsp lemon or lime juice

Preheat the oven to 200°C . Lightly grease two baking trays. Cream the butter and the caster sugar until pale and fluffy.

IMG_6368_opt_Fotor

Beat in the egg yolk and lemon/lime rind. Sift in the flour, stir and then add the glade cherries, mixing with your hands to a soft dough.

IMG_6371_opt

Roll out the dough on a lightly floured surface to about 5mm thick.

IMG_6373_opt_Fotor


IMG_6374_opt

Stamp out 8cm rounds using a biscuit cutter. Then stamp out the centre of each round with a 2.5cm cutter and place the rings onto the prepared baking trays. Re-roll any trimmings and more biscuits.

IMG_6378_opt

Bake in the pre-heated oven for 10-15 minutes, until firm and golden. Allow to cool on the baking trays for 2 minutes, then transfer to a wire rack to finish cooling. For the frosting mix the icing sugar to a smooth paste with the lemon/lime juice. Drizzle over the biscuits and leave to set.

IMG_6383_opt

IMG_6387_opt

Back to top
Follow

Get every new post delivered to your Inbox

Join other followers:

%d bloggers like this: